Downloads
Trading Cards
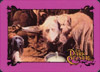
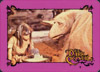
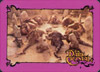
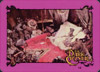
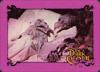
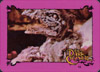
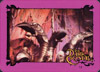
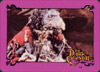
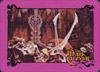
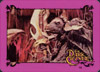
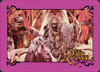
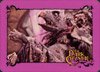
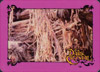
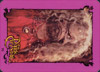
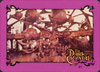
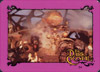
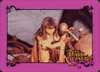
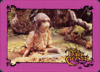
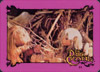
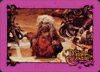
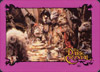
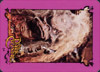
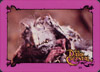
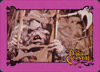
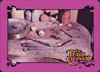
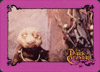
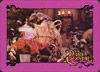
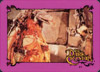
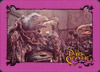
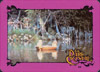
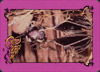
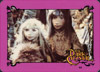
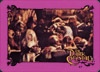
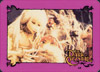
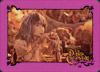
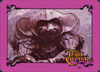
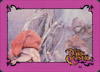
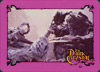
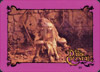
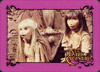
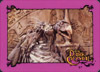
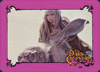
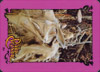
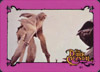
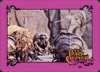
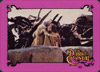
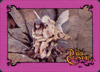
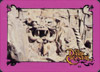
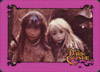
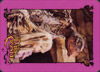
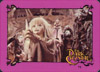
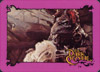
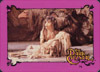
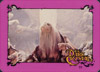
There were several sets of official trading cards for The Dark Crystal produced to co-incide with the film's release. The trading card set detailed below contains 78 cards that feature characters and scenes from the movie. With a predominantly purple colour scheme, the card set was produced in 1982 by Donruss.
Complete Card List
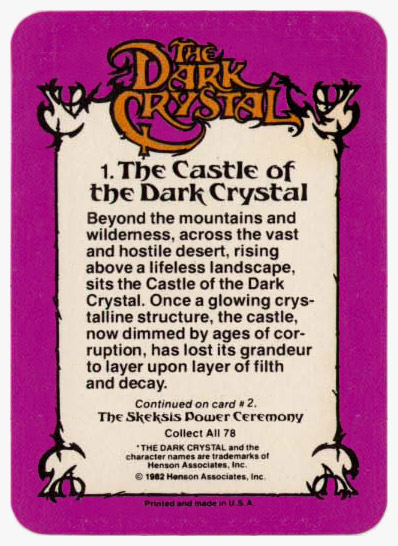
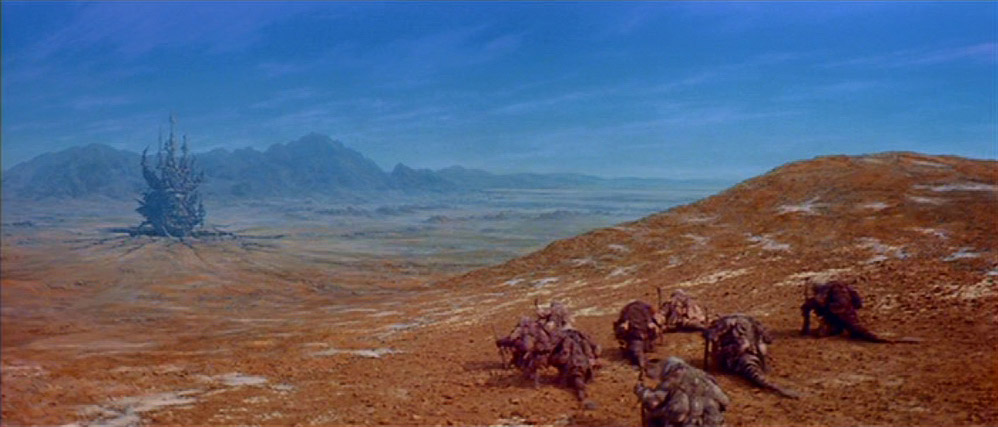
- #1 - The Castle of the Dark Crystal
- Beyond the mountains and wilderness, across the vast and hostile desert, rising above the lifeless landscape, sits the Castle of the Dark Crystal. Once a glowing crystalline structure, the castle, now dimmed by ages of corruption, has lost its grandeur to layer upon layer of filth and decay. Card Front Card Back
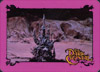
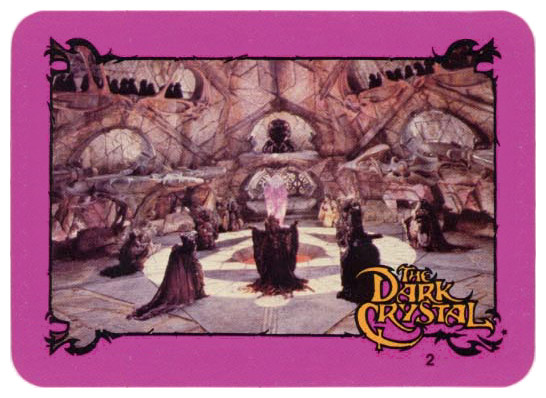
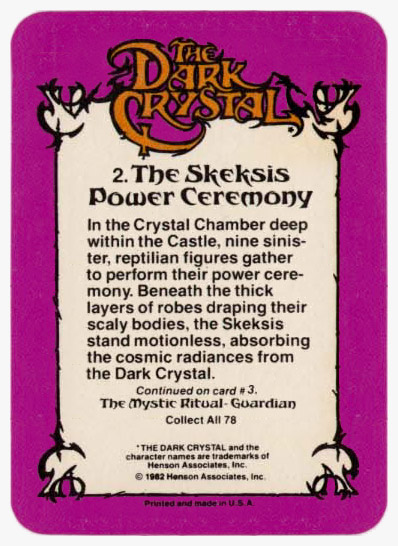
- #2 - The Skeksis Power Ceremony
- In the Crystal Chamber deep within the Castle, nine sinister reptilian figures gather to perform their power ceremony. Beneath the thick layers of robes draping their scaly bodies, the Skeksis stand motionless, absorbing the cosmic radiances from the Dark Crystal. Card Front Card Back
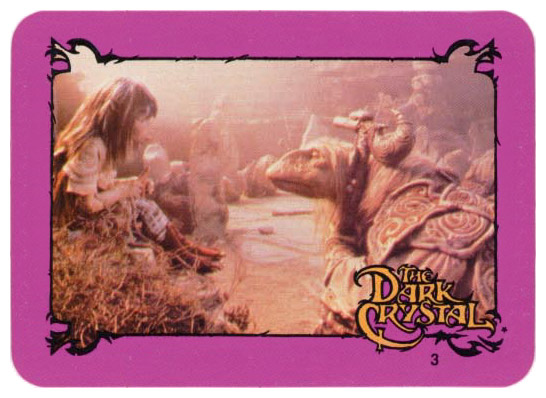
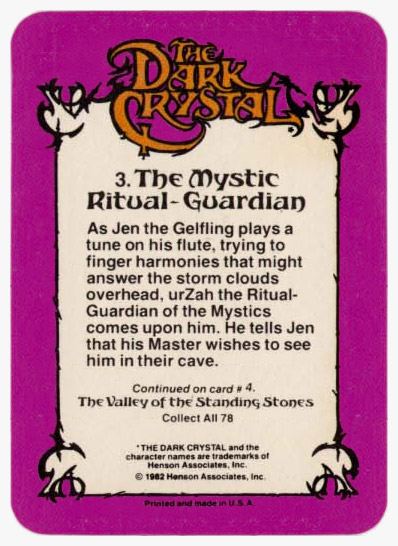
- #3 - The Mystic Ritual-Guardian
- As Jen the Gelfling plays a tune on his flute, trying to finger harmonies that might answer the storm clouds overhead, urZah the Ritual-Guardian of the Mystics comes upon him. He tells Jen that his Master wishes to see him in their cave. Card Front Card Back

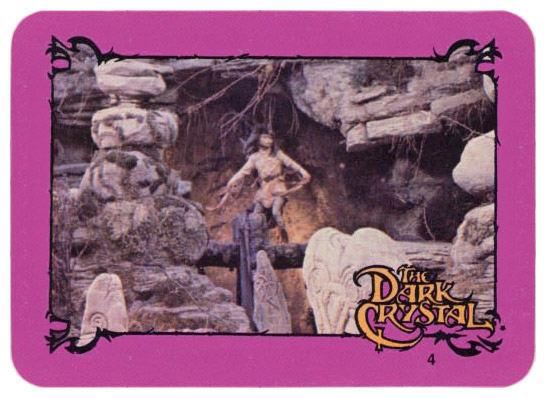
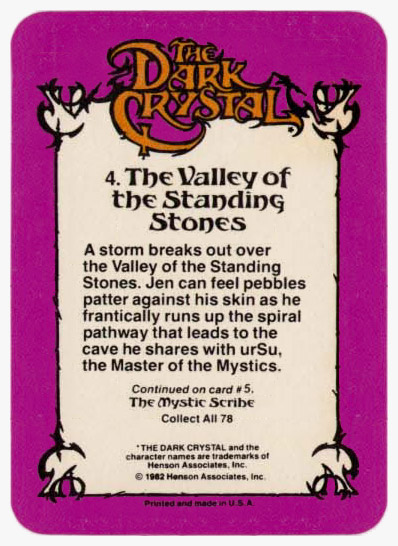
- #4 - The Valley of the Standing Stones
- A storm breaks out over the Valley of the Standing Stones. Jen can feel pebbles patter against his skin as he frantically runs up the spiral pathway that leads to the cave that he shares with urSu, the Master of the Mystics. Card Front Card Back
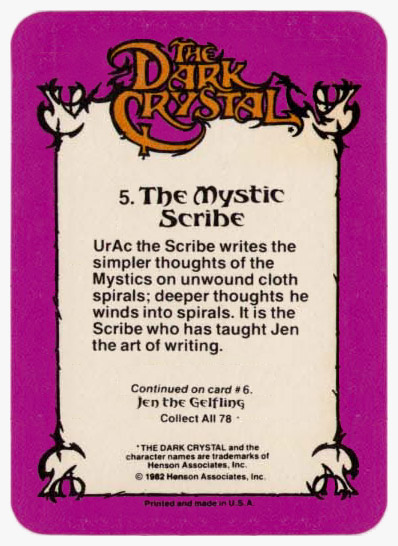
- #5 - The Mystic Scribe
- UrAc the Scribe writes the simpler thoughts of the Mystics on unwound cloth spirals; deeper thoughts he winds into spirals. It is the Scribe who taught Jen the art of writing. Card Front Card Back

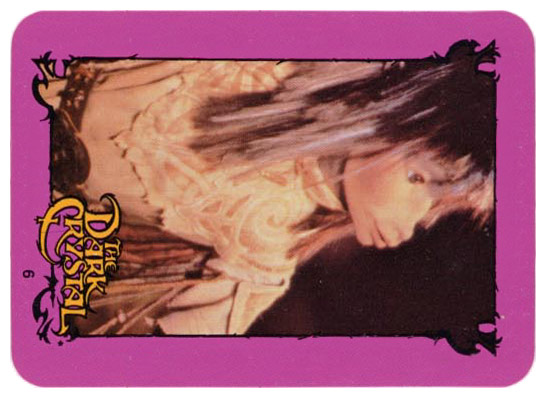
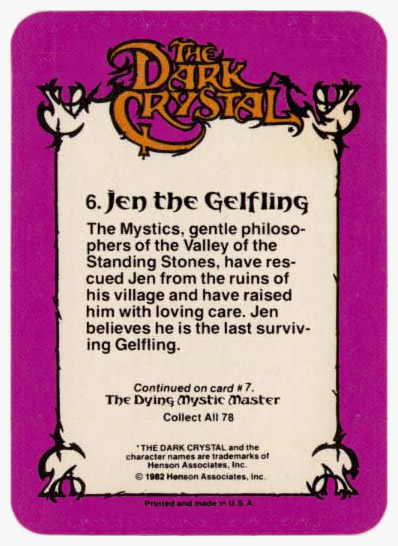
- #6 - Jen the Gelfling
- The Mystics, gentle philosophers of the Valley of the Standing Stones, have rescued Jen from the ruins of his village and have raised him with loving care. Jen believes he is the last surviving Gelfling. Card Front Card Back
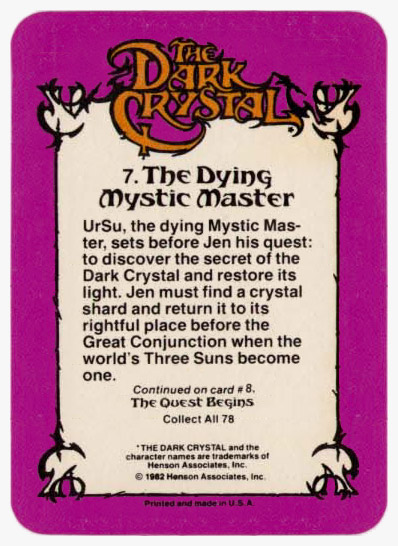
- #7 - The Dying Mystic Master
- UrSu, the dying Mystic Master, sets before Jen his quest: to discover the secret of the Dark Crystal and restore its light. Jen must find a crystal shard and return it to its rightful place before the Great Conjunction when the world's Three Suns become one. Card Front Card Back
- #8 - The Quest Begins
- UrSu, the dying Mystic Master, instructs Jen that it is to the high hill, to the dome of Aughra, Keeping of Secrets, that he must first go in his quest for the Dark Crystal's missing shard. Should he fail, all things good will forever be destroyed. Card Front Card Back
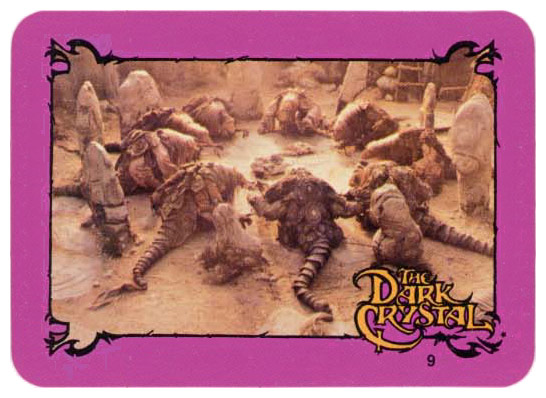
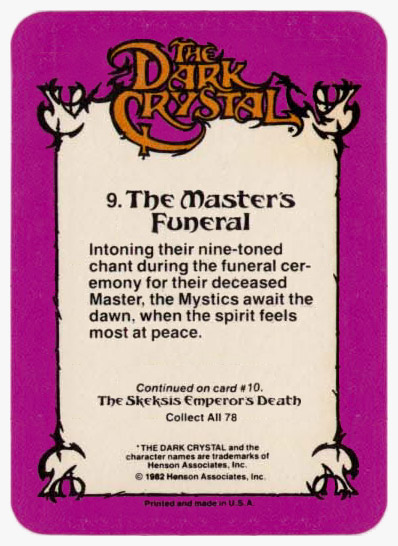
- #9 - The Master's Funeral
- Intoning their nine-toned chant during the funeral ceremony for their deceased Master, the Mystics await the dawn, when the spirit feels most at peace. Card Front Card Back
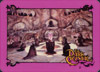
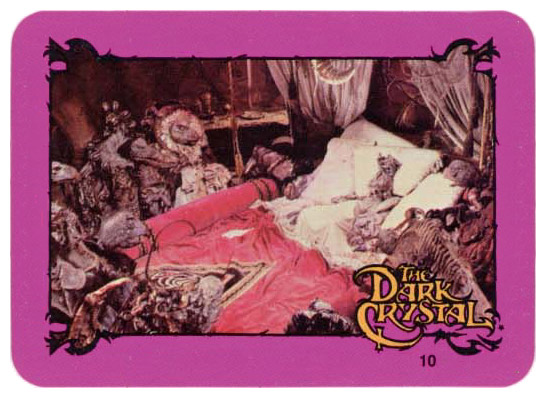
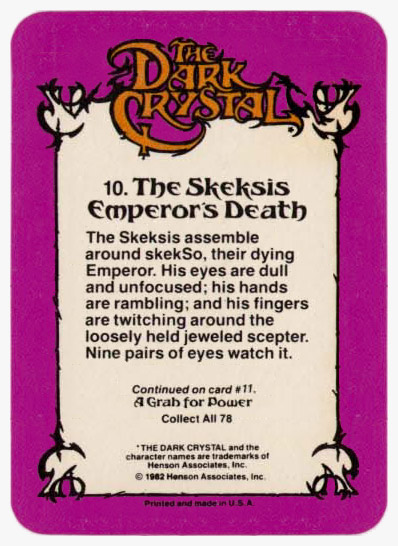
- #10 - The Skeksis Emperor's Death
- The Skeksis assemble around skekSo, their dying Emperor. His eyes are dull and unfocused; his hands are rambling; and his fingers are twitching around the loosely held jeweled scepter. Nine pairs of eyes watch it. Card Front Card Back
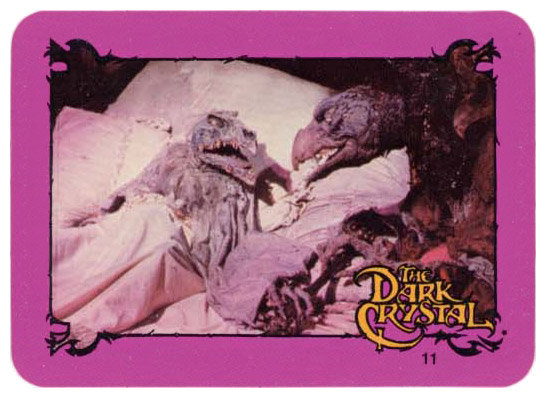
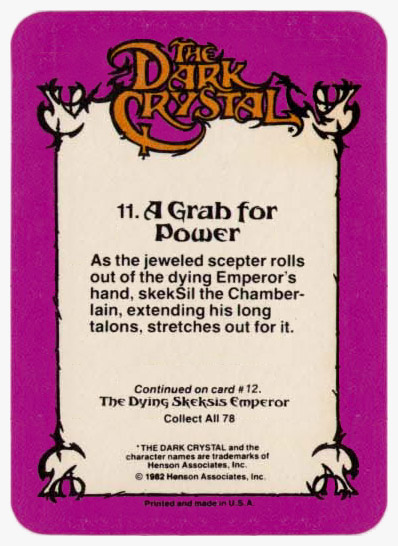
- #11 - A Grab for Power
- As the jeweled scepter rolls out of the dying Emperor's hand skekSil the Chamberlain, extending his long talons, stretches out for it. Card Front Card Back
- #12 - The Dying Skeksis Emperor
- The eyes of the dying Emperor suddenly open. His neck whips from the pillow; and his jaws, full of yellow teeth, snap like a trap an inch away from the Chamberlain, who is attempting to snatch the jeweled scepter from him. Card Front Card Back
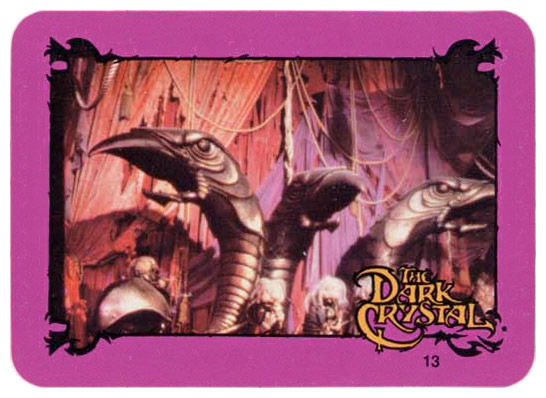
- #13 - The Emperor's Funeral
- From deep within the castle, strains of solemn music arise. The eerie music forms a dirge that is being sung by a chorus of Pod slaves situated in choir stalls at the side of the mausoleum. Card Front Card Back
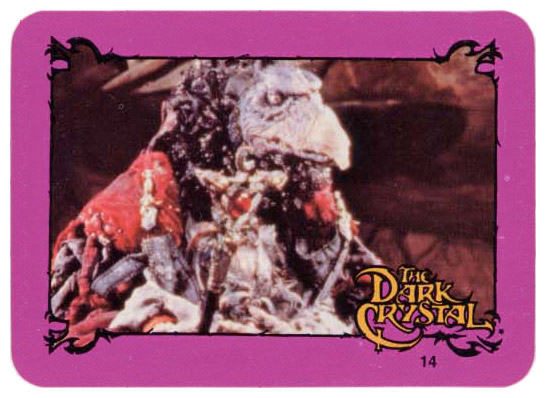
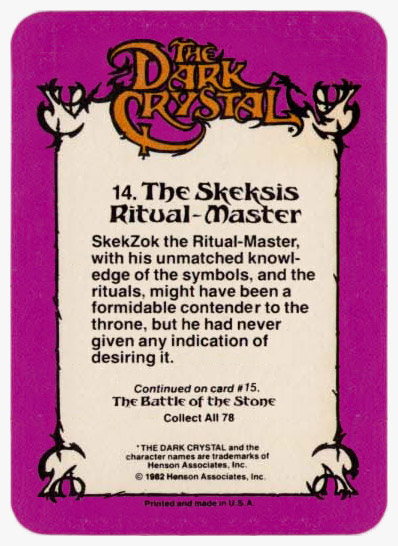
- #14 - The Skeksis Ritual-Master
- SkekZok the Ritual-Master, with his unmatched knowledge of the symbols, and the rituals, might have been a formidable contender to the throne, but he had never given any indication of desiring it. Card Front Card Back
- #15 - The Battle of the Stone
- The death of the Skeksis' Emperor creates within their ranks rivalry and anger. SkekUng the Garthim-Master and skekSil the Chamberlain fall into open quarrel and fight the Battle of the Stone to determine who will succeed to the throne. Card Front Card Back
- #16 - The Skeksis Chamberlain
- The Emperor's failure to appoint and successor before his death results in a power struggle between the Chamberlain and the Garthim-Master. The Chamberlain had hoped to success to the Emperor's glory, but instead he must fight the Battle of the Stone. Card Front Card Back
- #17 - The Skeksis Garthim-Master
- In the Battle of the Stine, the Garthim-Master triumphs over the Chamberlain and is appointed the new Emperor. The Ritual-Master places a robe of satin over his shoulders and the crown on his head; then hands him the jeweled scepter. Card Front Card Back
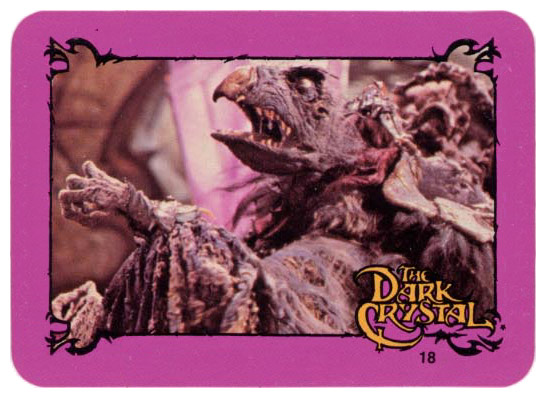
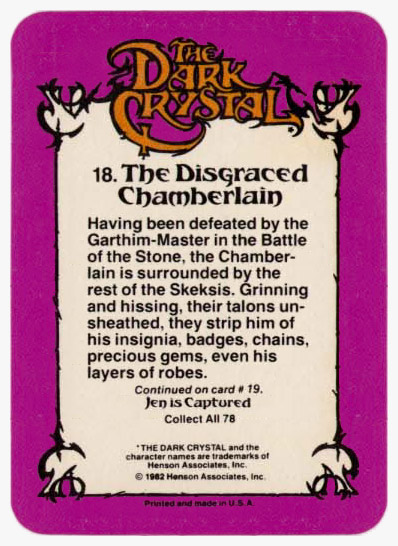
- #18 - The Disgraced Chamberlain
- Having been defeated by the Garthim-Master in the Battle of the Stone, the Chamberlain is surrounded by the rest of the Skeksis. Grinning and hissing, their talons unsheathed, they strip him of his insignia, badges, chains, precious gems, even his layers of robes. Card Front Card Back
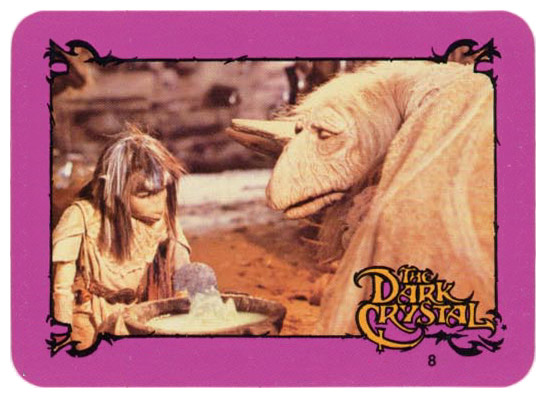
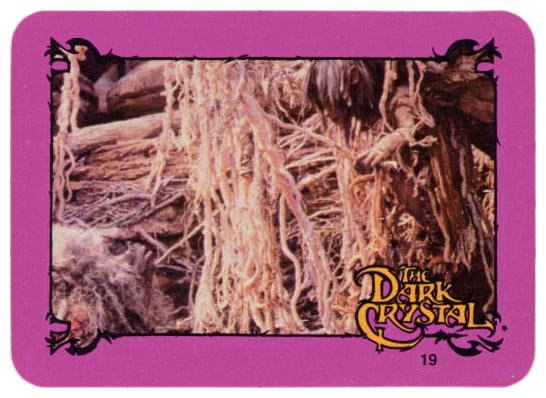
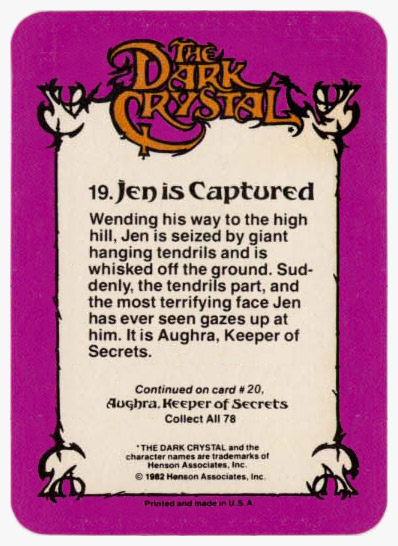
- #19 - Jen is Captured
- Wending his way to the high hill, Jen is seized by giant hanging tendrils and is whisked off the ground. Suddenly, the tendrils part, and the most terrifying face Jen has ever seen gazes up at him. It is Aughra, Keeper of the Secrets. Card Front Card Back
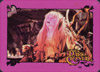
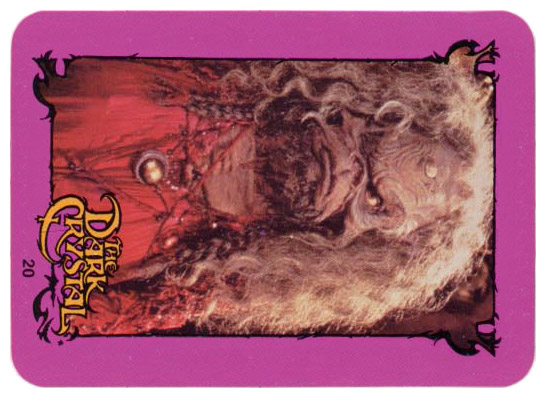
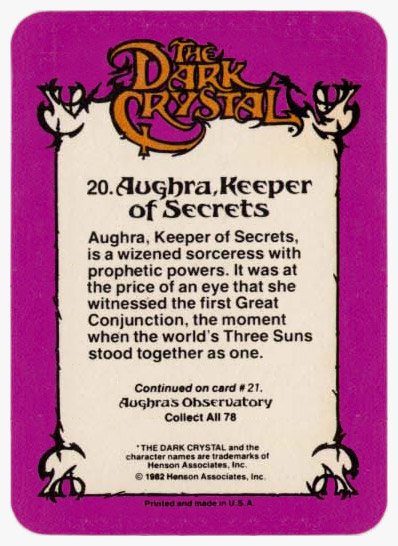
- #20 - Aughra
- Aughra, Keeper of the Secrets, is a wizened sorceress with prophetic powers. It was at the price of an eye that she witnessed the first Great Conjunction, the moment when the world's Three Suns stood together as one. Card Front Card Back
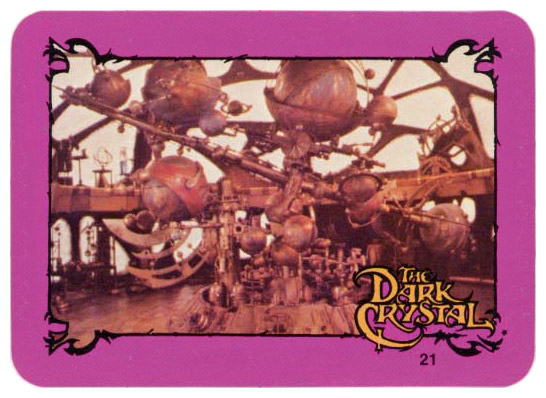
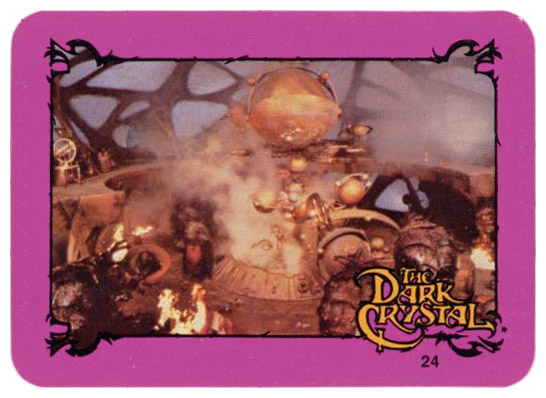
- #21 - Aughra's Observatory
- Inside Aughra's observatory beneath a glowing golden dome, are whirling discs and whizzing rods of an enormous model of the Three Suns and their planets, all of them spinning, with moons and comets rising and falling, swooping down and around. Card Front Card Back

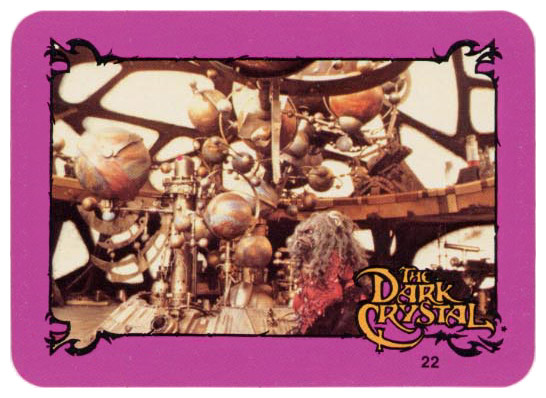
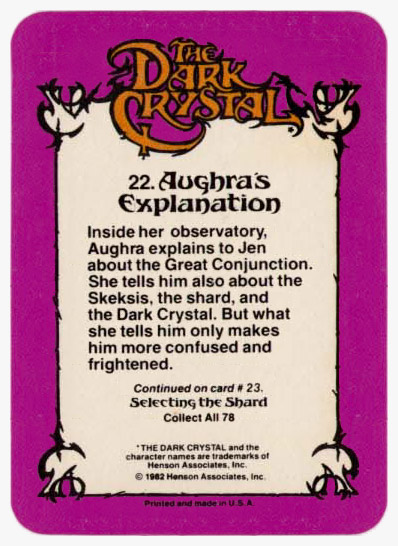
- #22 - Aughra's Explanation
- Inside her observatory, Aughra explains to Jen about the Great Conjunction. She tells him also about the Skeksis, the shard, and the Dark Crystal. But what she tells him only makes him more confused and frightened. Card Front Card Back

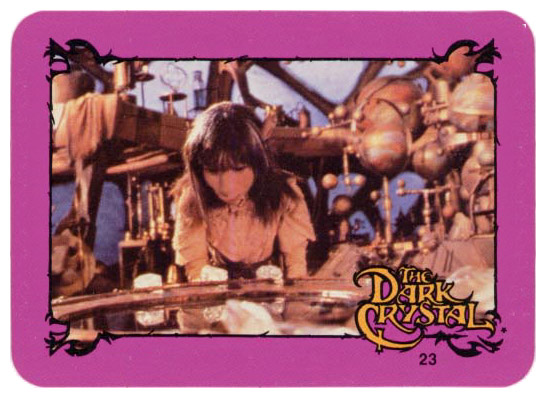
- #23 - Selecting the Shard
- Jen must choose among three crystal shards to find the one that is identical to the shard his Master had shown him. He sounds a note on his flute and one of the shards begins to glow and sound the same note back. Card Front Card Back
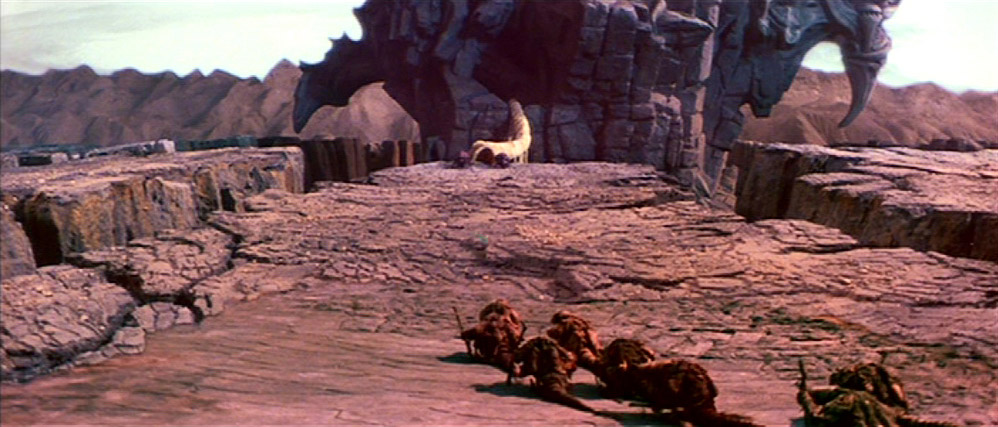
- #24 - Garthim Attack
- Suddenly a wall of the observatory crashes in. Through the gaping hole monstrous Garthim, armored warriors of destruction created by the Skeksis, swarm in. They smash aside benches of glassware, chairs, bits of the model, anything in their path. And they head straight toward Jen. Card Front Card Back
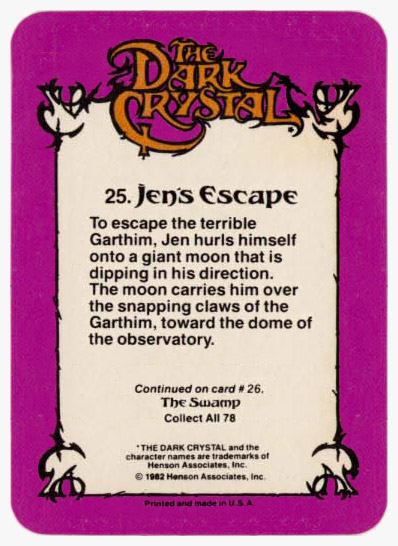
- #25 - Jen's Escape
- To escape the terrible Garthim, Jen hurls himself onto a giant moon that is dipping in his direction. The moon carries him over the snapping claws of the Garthim, toward the dome of the observatory. Card Front Card Back
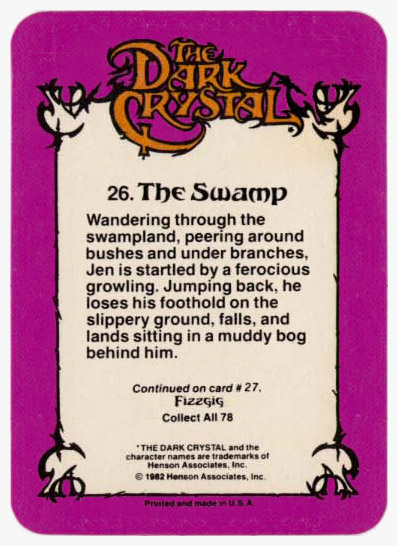
- #26 - The Swamp
- Wandering through the swampland, peering around bushes and under branches, Jen is startled by a ferocious growling. Jumping back, he loses his foothold on the slippery ground, falls, and lands sitting in a muddy bog behind him. Card Front Card Back

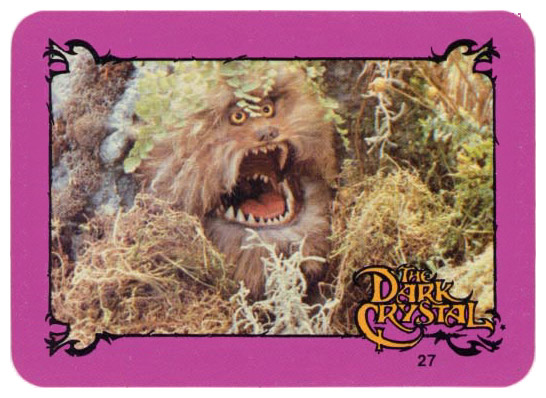
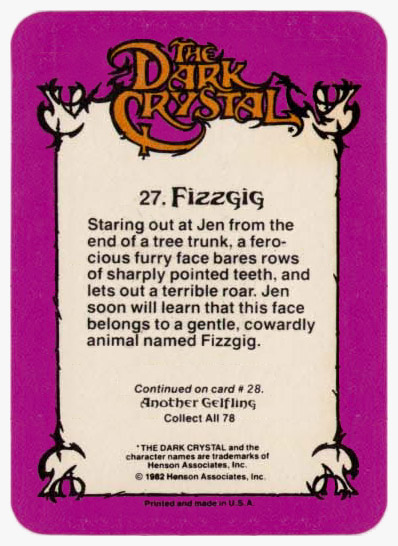
- #27 - Fizzgig
- Staring out at Jen from the end of a tree trunk, a ferocious furry face bares rows of sharply pointed teeth, and lets out a terrible roar. Jen soon will learn that this face belongs to a gentle, cowardly animal named Fizzgig. Card Front Card Back

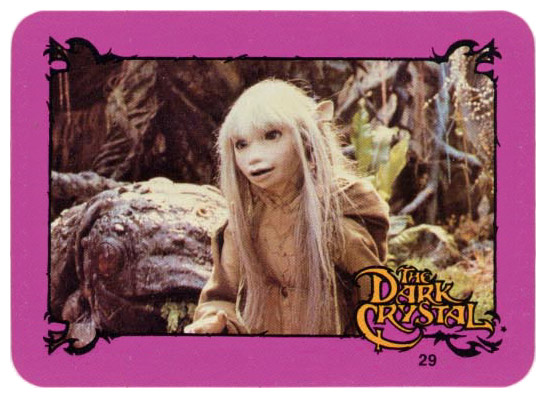
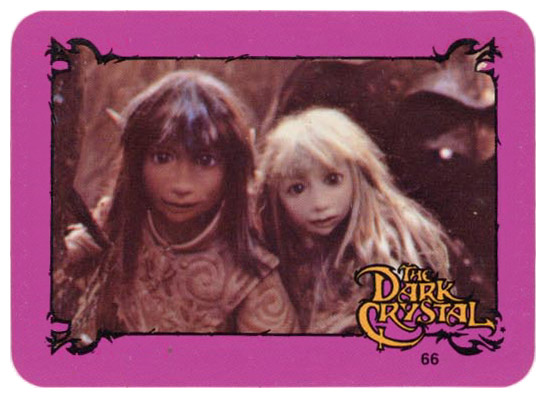
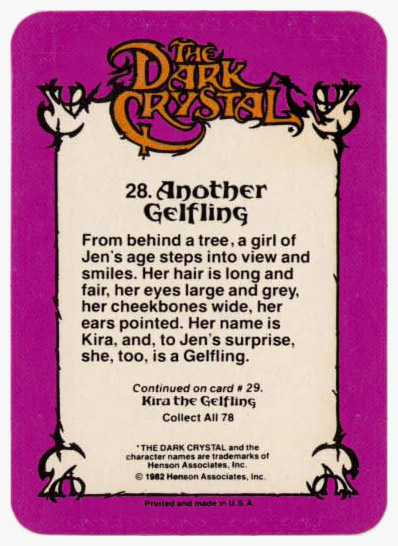
- #28 - Another Gelfling
- From behind a tree, a girl of Jen's age steps into view and smiles. Her hair is long and fair, her eyes large and grey, her cheekbones wide, her ears pointed. Her name is Kira, and, to Jen's surprise, she, too, is a Gelfling. Card Front Card Back

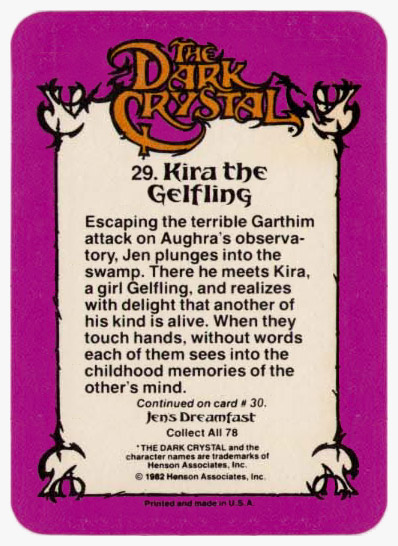
- #29 - Kira the Gelfling
- Escaping the terrible Garthim attack on Aughra's observatory, Jen plunges into the swamp. There he meets Kira, a girl Gelfling, and realizes with delight that another is his kind is alive. When they touch hands, without words each of them sees into the childhood memories of the other's mind. Card Front Card Back
- #30 - Jen's Dreamfast
- The Mystics had rescued Jen from the ruins of his village and raised him in the Valley of the Standing Stones. There, Jen was brought up with riddles and enchantments, music and dreams. Card Front Card Back
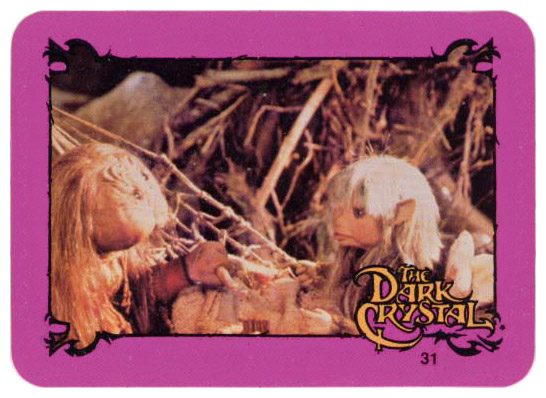
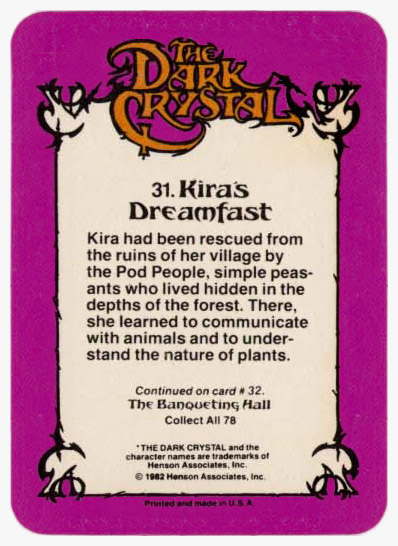
- #31 - Kira's Dreamfast
- Kira has been rescued from the ruins of her village by the Pod People, simple peasants who lived hidden in the depths of the forest. There, she learned to communicate with animals and to understand the nature of plants. Card Front Card Back
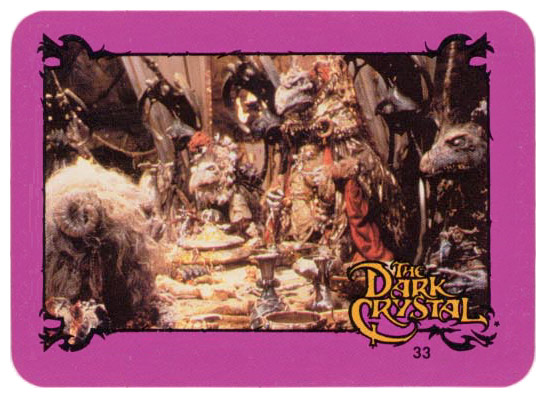
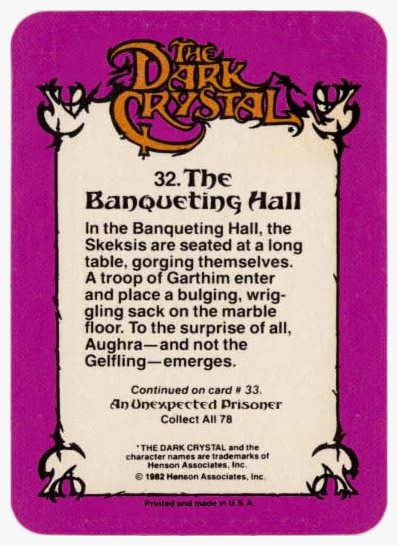
- #32 - The Banqueting Hall
- In the Banqueting Hall, the Skeksis are seated at a long table, gorging themselves. A troop of Garthim enter and place of bulging, wriggling sack on the marble floor. To the surprise of all, Aughra - and not the Gelfling - emerges. Card Front Card Back
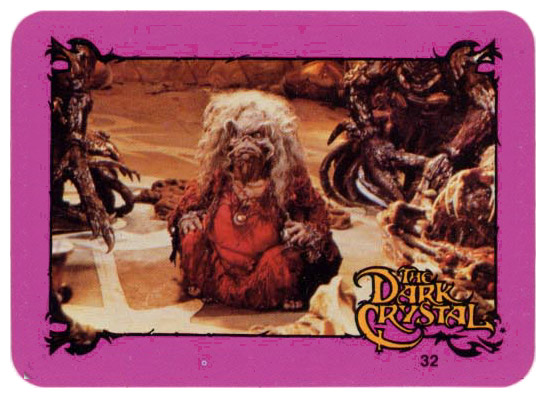
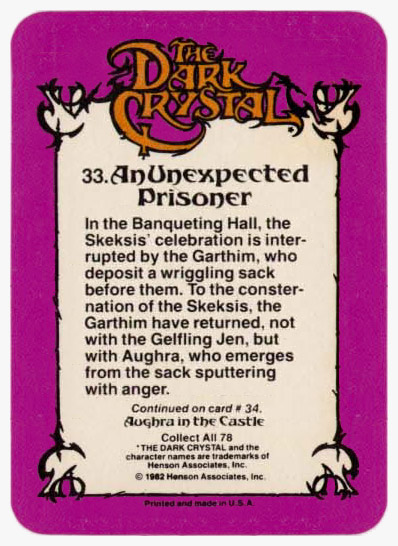
- #33 - An Unexpected Prisoner
- In the Banqueting Hall, the Skeksis' celebration is interrupted by the Garthim, who deposit a wriggling sack before them. To the consternation of the Skeksis, the Garthim have returned, not with the Gelfling Jen, but with Aughra, who emerges from the sack sputtering with anger. Card Front Card Back
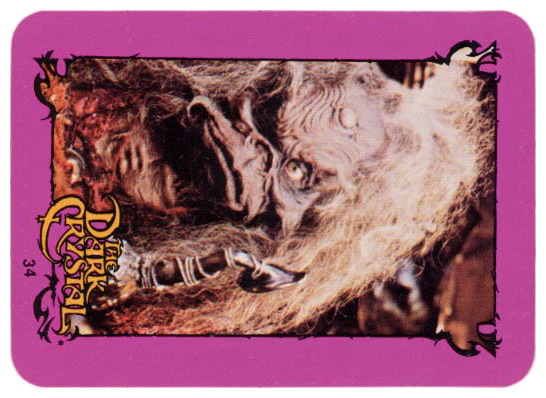
- #34 - Aughra in the Castle
- Emerging from the sack in which she has been carried from her observatory to the castle, Aughra approaches the table at which the Skeksis are seated, gorging themselves. She blames the stupidity of the Garthim for their mistake. Card Front Card Back
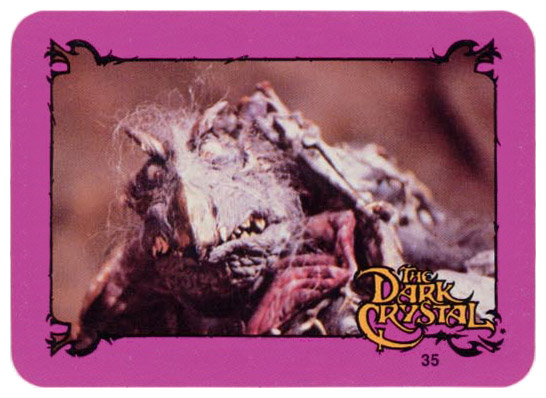
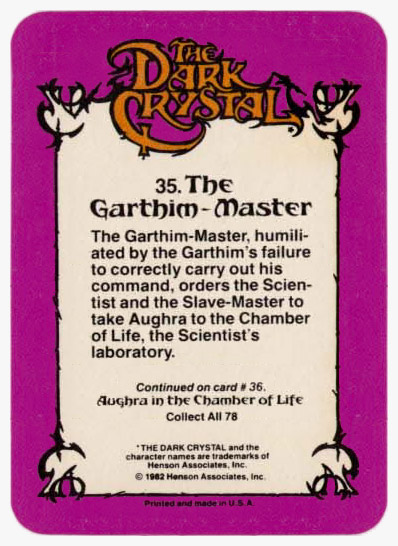
- #35 - The Garthim-Master
- The Garthim-Master, humiliated by the Garthim's failure to correctly carry out his command, orders the Scientist and the Slave-Master to take Aughra to the Chamber of Life, the Scientist's laboratory. Card Front Card Back
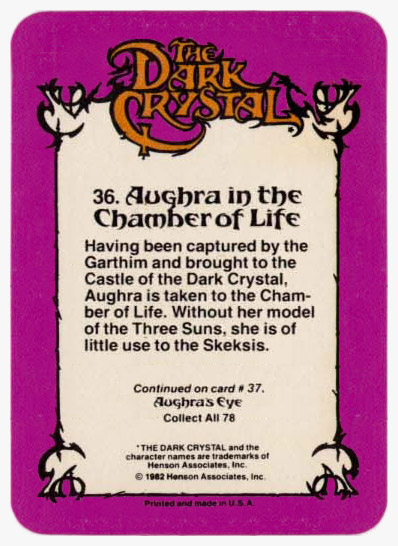
- #36 - Aughra in the Chamber of Life
- Having been captured by the Garthim and brought to the Castle of the Dark Crystal. Aughra is taken to the Chamber of Life. Without her model of the Three Suns, she is of little use to the Skeksis. Card Front Card Back
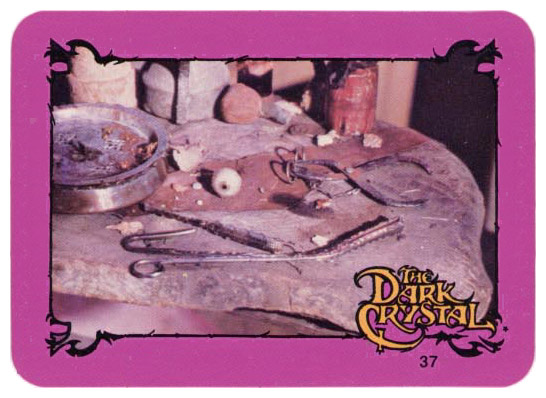
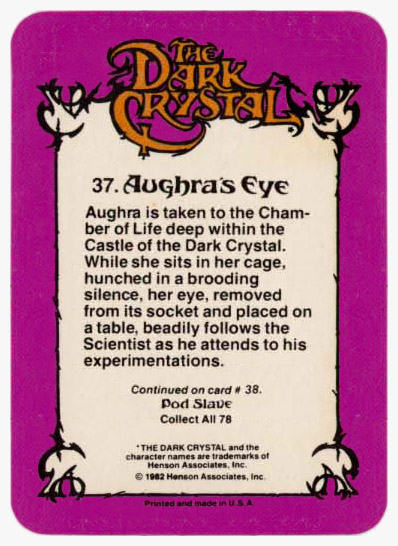
- #37 - Aughra's Eye
- Aughra is taken to the Chamber of Life deep within the Castle of the Dark Crystal. While she sits in her cage, hunched in a brooding silence, her eye, removed from its socket and placed on a table, beadily follows the Scientist as he attends to his experimentations. Card Front Card Back
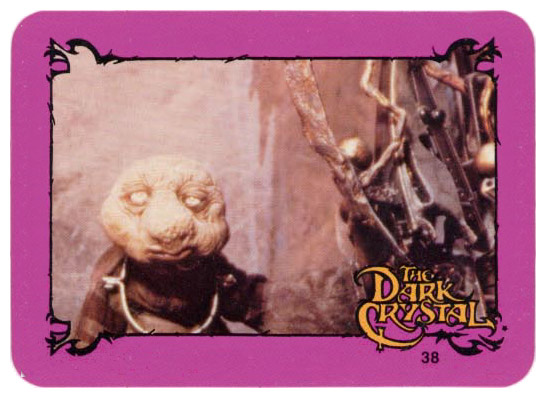
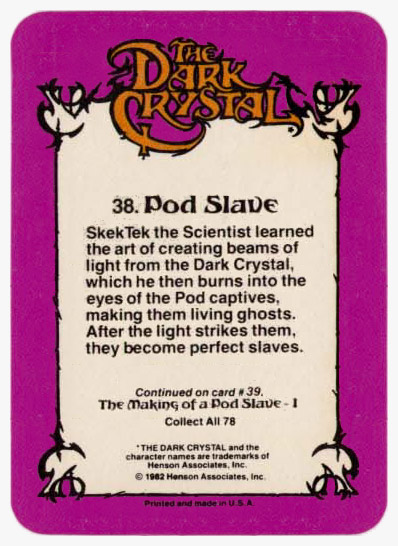
- #38 - Pod Slave
- SkekTek the Scientist learned the art of creating beams of light from the Dark Crystal, which he then burns into the eyes of the Pod captives, making them living ghosts. After the light strikes them, they become perfect slaves. Card Front Card Back

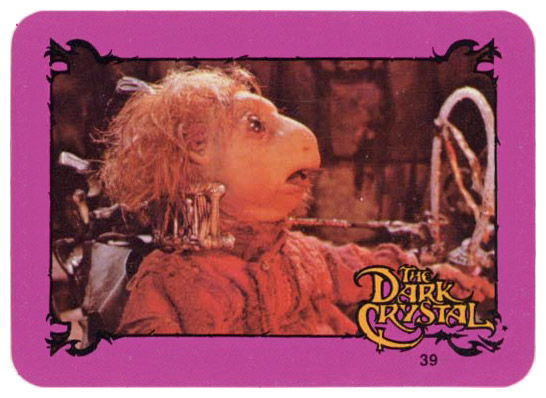
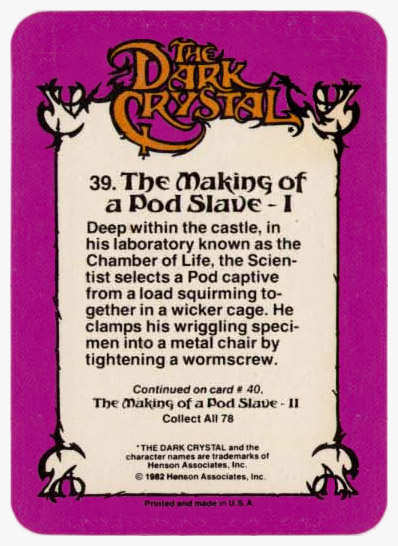
- #39 - The Making of a Pod Slave - I
- Deep within the castle, in his laboratory known as the Chamber of Life, the Scientist selects a Pod captive from a load squirming together in a wicker cage. He clamps his wriggling specimen into a metal chair by tightening a wormscrew. Card Front Card Back
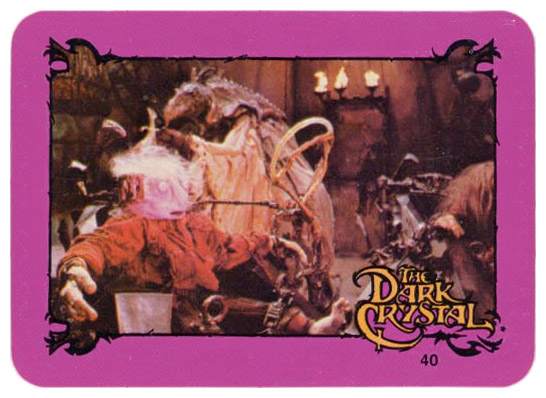
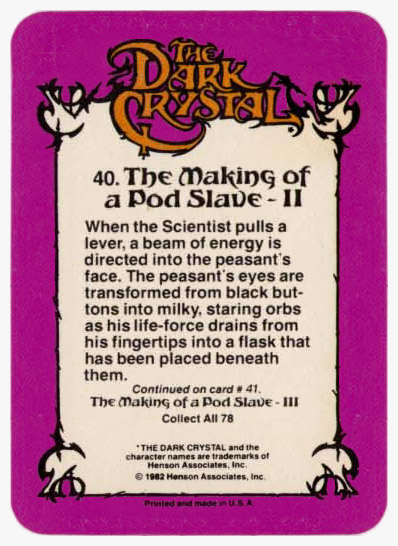
- #40 - The Making of a Pod Slave - II
- When the Scientist pulls a lever, a beam of energy is directed into the peasant's face. The peasant's eyes are transformed from black buttons into milky, staring orbs as his life-force drains from his fingertips into a flask that has been placed beneath them. Card Front Card Back
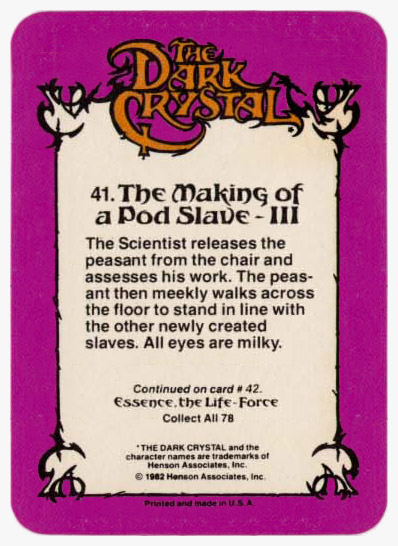
- #41 - The Making of a Pod Slave - III
- The Scientist releases the peasant from the chair and assesses his work. The peasant then meekly walks across the floor to stand in line with the other newly created slaves. All eyes are milky. Card Front Card Back
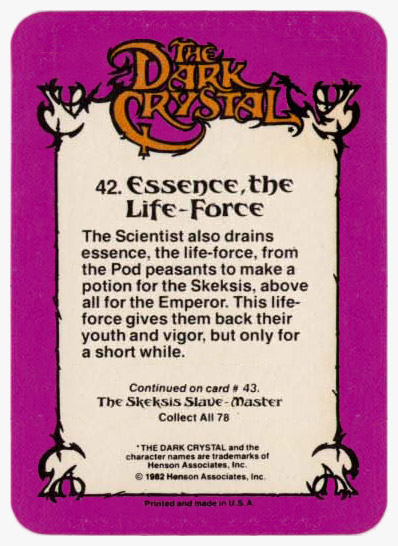
- #42 - Essence, the Life Force
- The Scientist also drains essence, the life-force, from the Pod peasants to make a potion for the Skeksis, above all for the Emperor. This life-force gives them back their youth and vigor, but only for a short while. Card Front Card Back
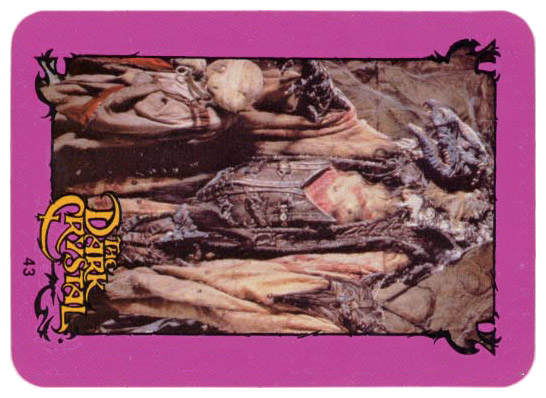
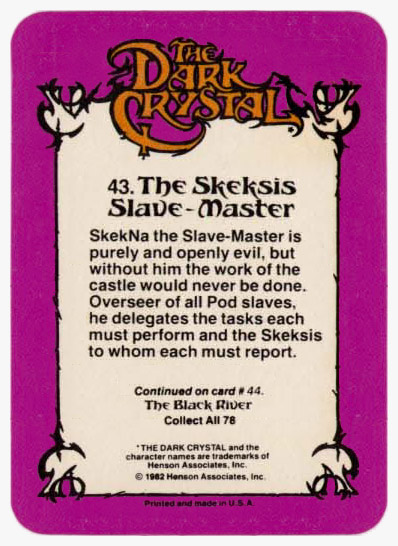
- #43 - The Skeksis Slave-Master
- SkekNa the Slave-Master is purely and openly evil, but without him the work of the castle would never be done. Overseer of all Pod slaves, he delegates the tasks each must perform and the Skeksis to whom each must report. Card Front Card Back
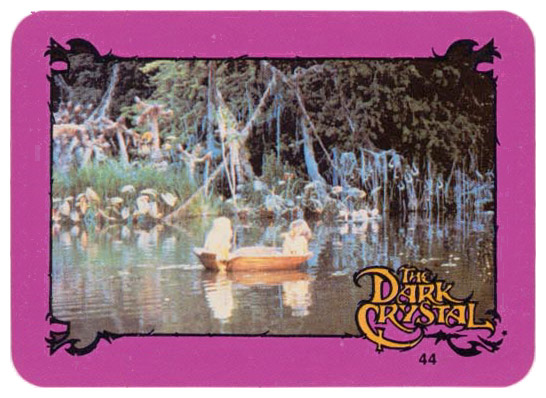
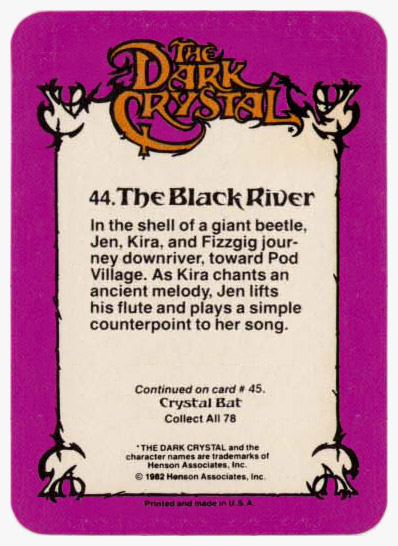
- #44 - The Black River
- In the shell of a giant beetle, Jen, Kira, and Fizzgig journey downriver, toward Pod Village. As Kira chants an ancient melody, Jen lifts his flute and plays a simple counterpoint to her song. Card Front Card Back
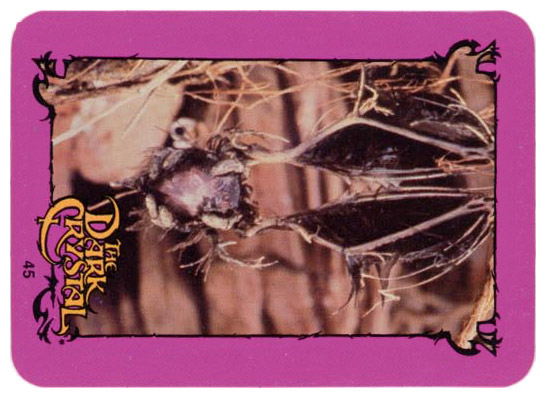
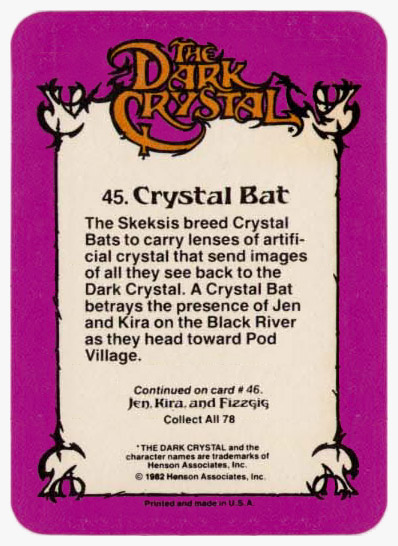
- #45 - Crystal Bat
- The Skeksis breed Crystal Bats to carry lenses of artificial crystal that send images of all they see back to the Dark Crystal. A Crystal Bat betrays the presence of Jen and Kira on the Black River as they head toward Pod Village. Card Front Card Back
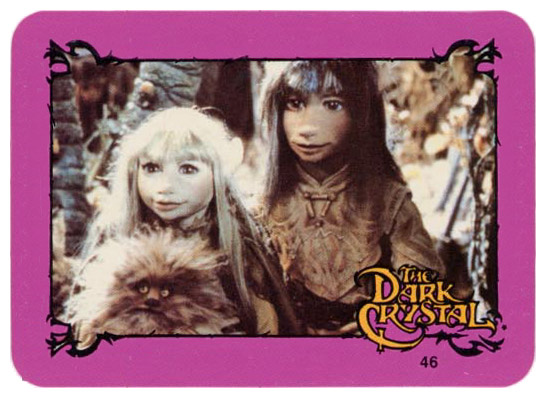
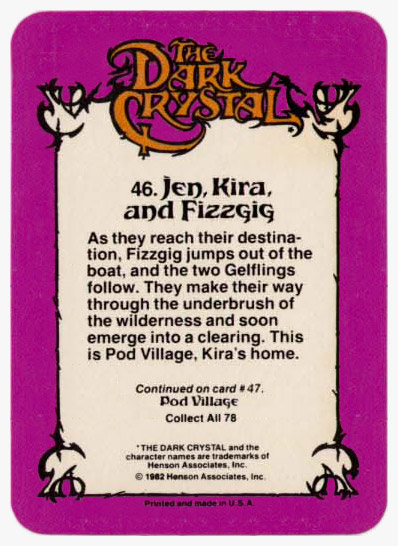
- #46 - Jen, Kira, and Fizzgig
- As they reach their destination, Fizzgig jumps out of the boat and the two Gelflings follow. They make their way through the underbrush of the wilderness and soon emerge into a clearing. This is Pod Village, Kira's home. Card Front Card Back
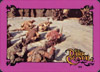
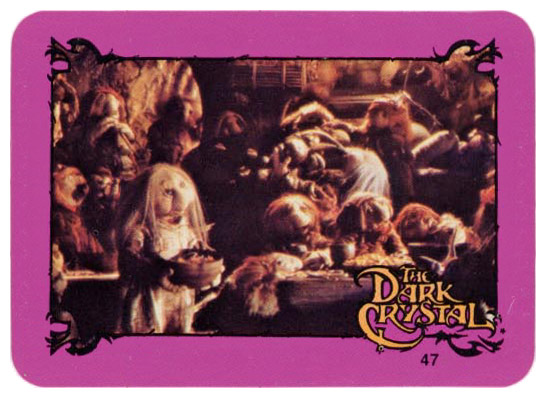
- #47 - Pod Village
- Simple peasants who live hidden in the depths of the forest, the Pod People tend all things that grow, above all the great Pod plants in whose scooped-out shells they make their homes. They think only of food, laughter and song. Card Front Card Back
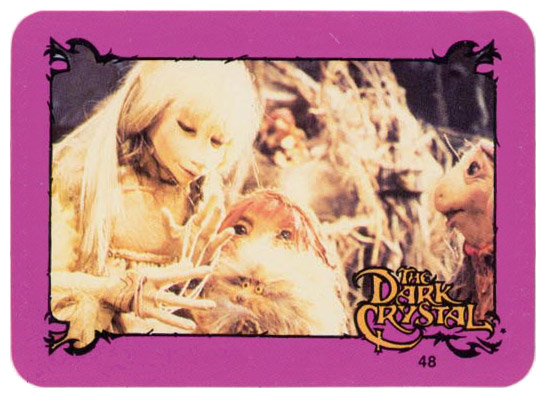
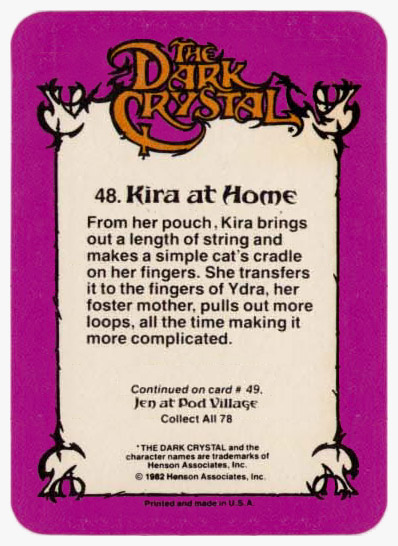
- #48 - Kira at Home
- From her pouch, Kira brings out a length of string and makes a simple cat's cradle on her fingers. She transfers it to the fingers of Ydra, her foster mother, pulls out more loops, all the time making it more complicated. Card Front Card Back
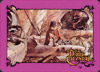
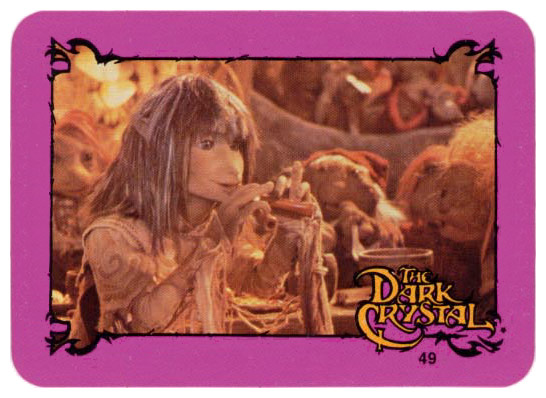
- #49 - Jen at Pod Village
- It is not long before the merrymaking begins. Soon the house is shaking with shouting and clapping and singing and dancing. Never has Jen been so happy. No longer feeling shy, he takes out his flute and plays along with the raucous band. Card Front Card Back

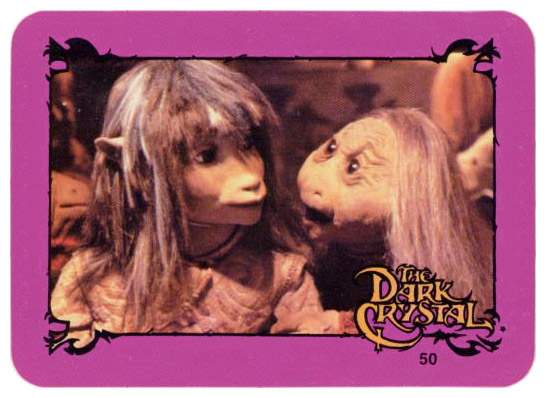
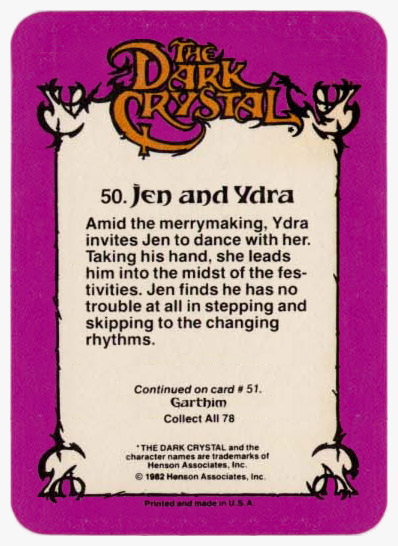
- #50 - Jen and Ydra
- Amid the merrymaking, Ydra invites Jen to dance with her. Taking his hand, she leads him into the midst of the festivities. Jen finds he has no trouble at all in stepping and skipping to the changing rhythms. Card Front Card Back
- #51 - Garthim
- The Skeksis made Garthim, armored warriors of destruction, to foil the ancient prophecy foretelling the end of the Skeksis rule by Gelfling hand. The sole purpose of the Garthim is to destroy everything in their path. Card Front Card Back
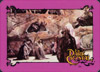
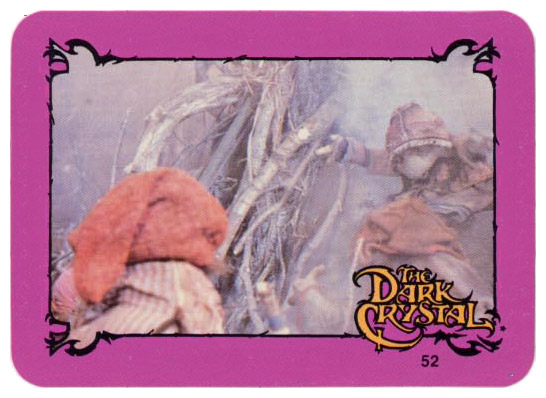
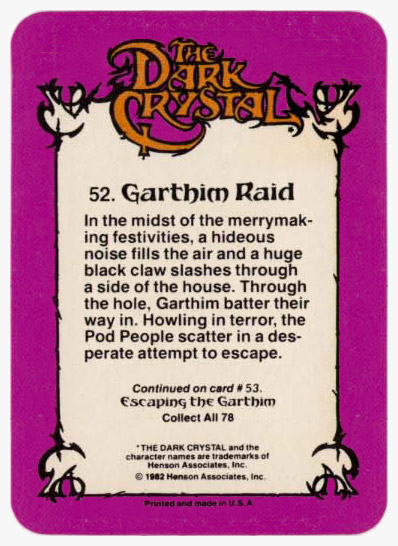
- #52 - Garthim Raid
- In the midst of the merrymaking festivities, a hideous noise fills the air and a huge black claw slashes through a side of the house. Through the hole, Garthim batter their way in. Howling in terror, the Pod People scatter in a desperate attempt to escape. Card Front Card Back
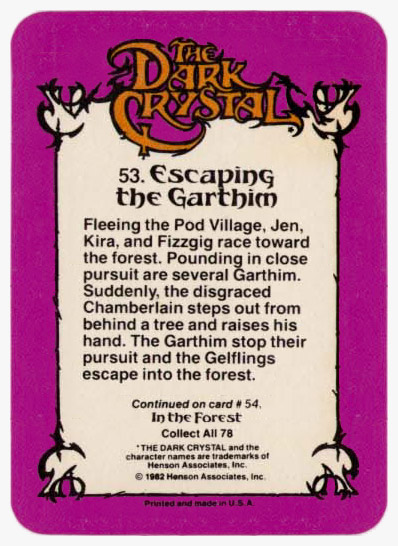
- #53 - Escaping the Garthim
- Fleeing the Pod Village, Jen, Kira, and Fizzgig race toward the forest. Pounding in close pursuit are several Garthim. Suddenly, the disgraced Chamberlain steps out from behind a tree and raises his hand. The Garthim stop their pursuit and the Gelflings escape into the forest. Card Front Card Back

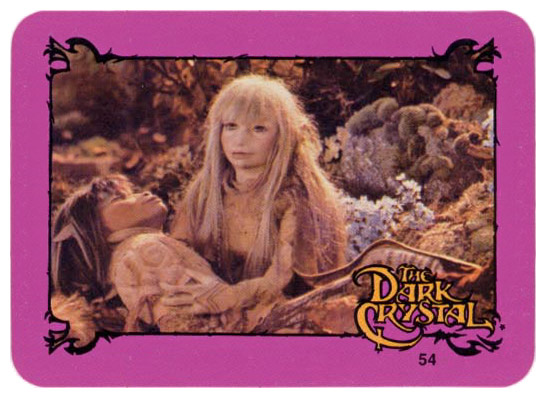
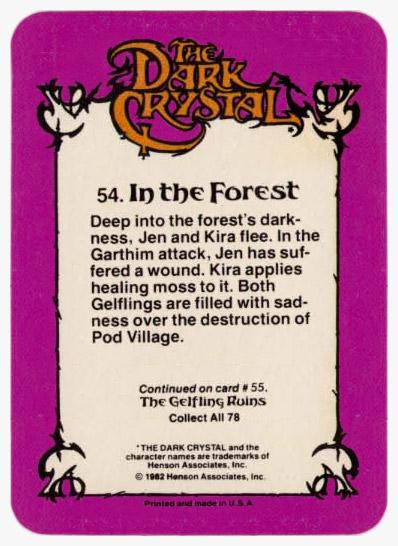
- #54 - In the Forest
- Deep into the forest's darkness, Jen and Kira flee. In the Garthim attack, Jen has suffered a wound. Kira applies healing moss to it. Both Gelflings are filled with sadness over the destruction of the Pod Village. Card Front Card Back
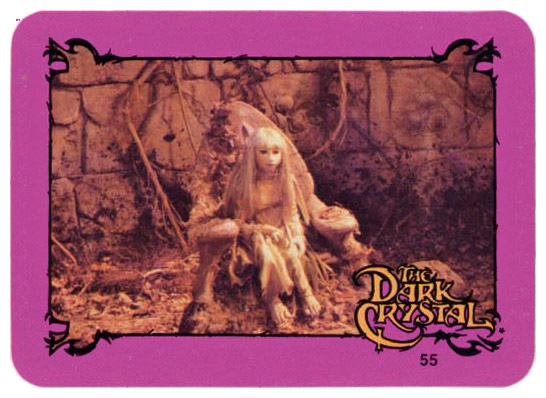
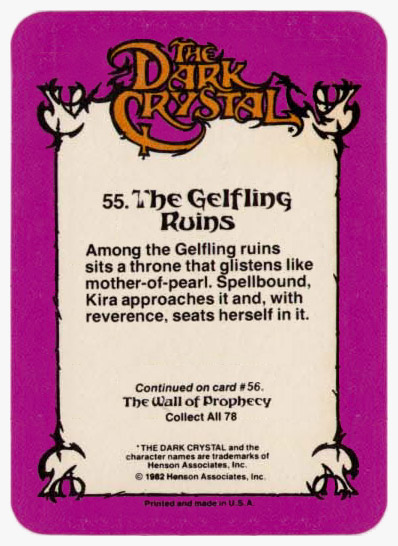
- #55 - The Gelfling Ruins
- Among the Gelfling ruins sits a throne that glistens like mother-of-pearl. Spellbound, Kira approaches it and, with reverence, seats herself in it. Card Front Card Back
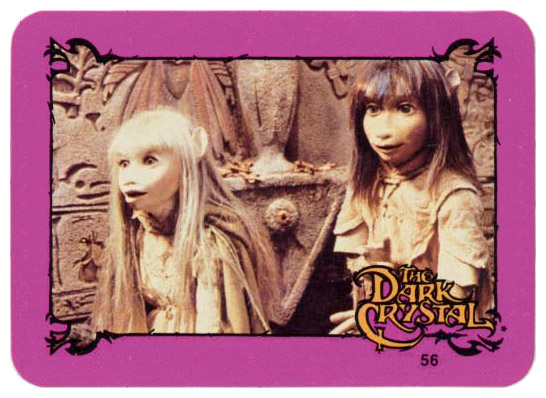
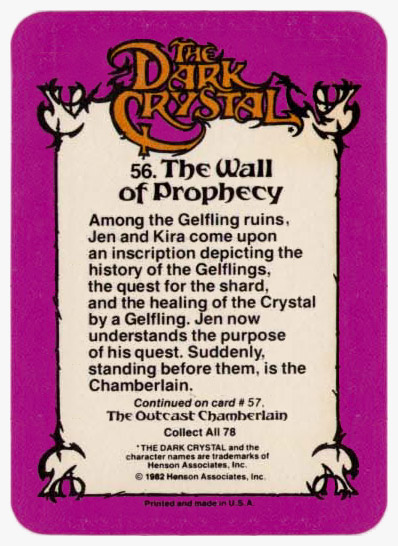
- #56 - The Wall of Prophecy
- Among the Gelfling ruins, Jen and Kira come upon an inscription depicting the history of the Gelflings, the quest for the shard, and the healing of the Crystal by a Gelfling. Jen now understands the purpose of his quest. Suddenly, standing before them, is the Chamberlain. Card Front Card Back
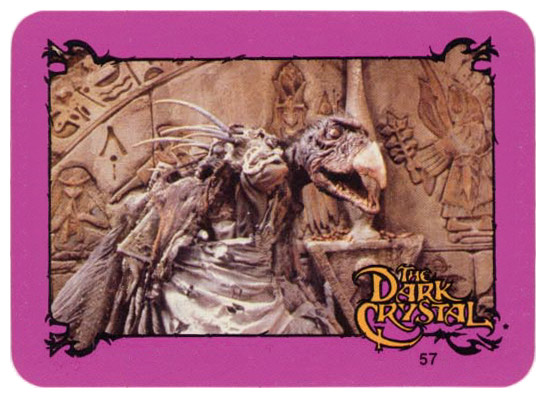
- #57 - The Outcast Chamberlain
- The outcast Chamberlain surprises Jen and Kira at the Gelfling ruins. He extends his hand, promising friendship. Jen is tempted to accept, but Kira mistrusts him. She urges Jen to heed his Master's last words and reject the Chamberlain's offer. Card Front Card Back

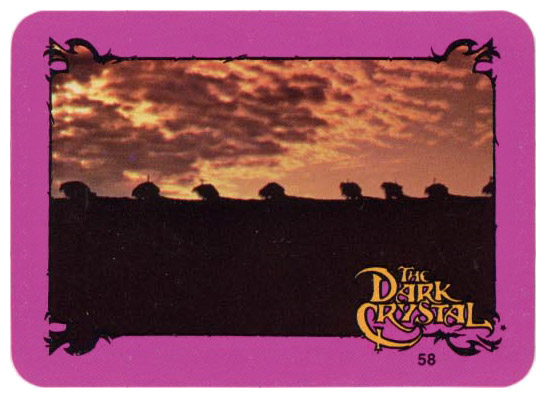
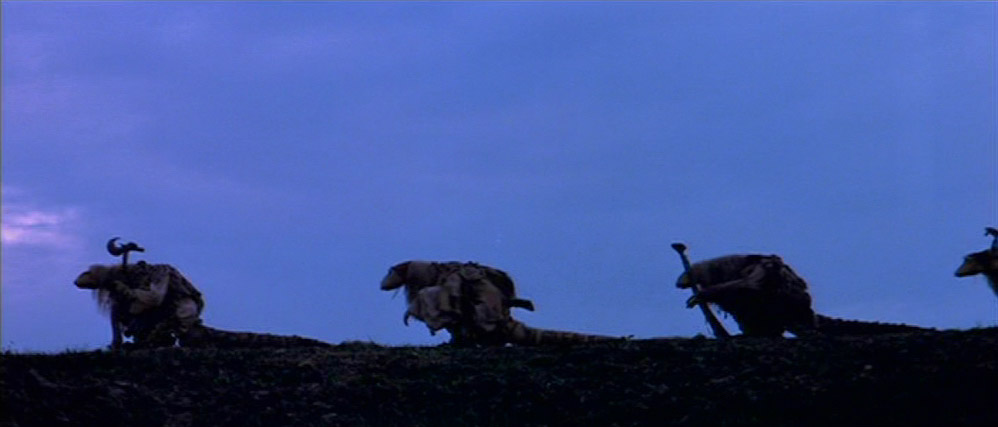
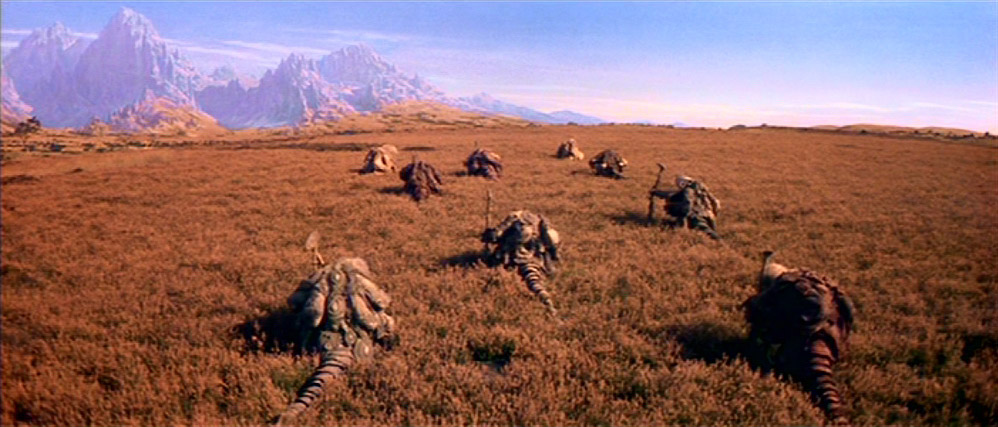
- #58 - The Trek of the Mystics
- This time has come for the Mystics to leave the Valley of the Standing Stones. In the wilderness on the horizon, they form a long procession. Wearily they slouch on, leaning heavily on their sticks towards the Castle of the Dark Crystal. Card Front Card Back
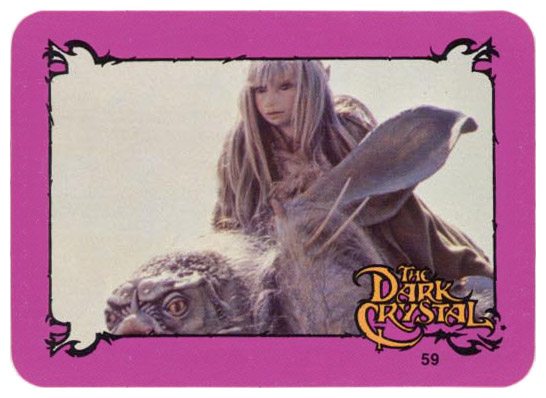
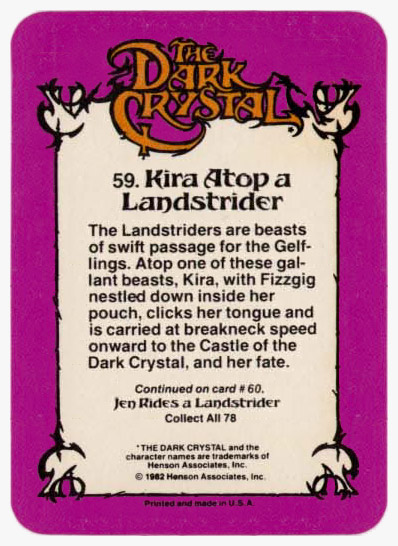
- #59 - Kira Atop of Landstrider
- The Landstriders are beasts of swift passage for the Gelflings. Atop one of these gallant beasts, Kira, with Fizzgig nestled down inside her pouch, clicks her tongue and is carried at breakneck speed onward to the Castle of the Dark Crystal, and her fate. Card Front Card Back
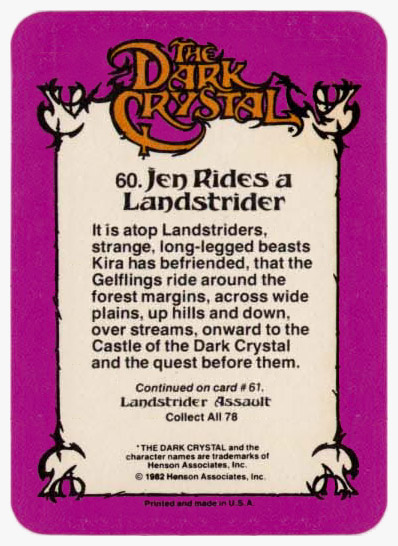
- #60 - Jen Rides a Landstrider
- It is atop Landstriders, strange, long-legged beasts Kira has befriended, that the Gelflings ride around the forest margins, across wide plains, up hills and down, over streams, onward to the Castle of the Dark Crystal and the quest before them. Card Front Card Back
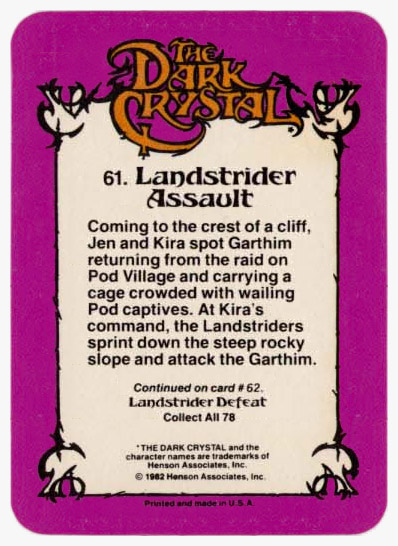
- #61 - Landstrider Assault
- Coming to the crest of a cliff, Jen and Kira spot Garthim returning from the raid on Pod Village and carrying a cage crowded with wailing Pod captives. At Kira's command, the Landstriders sprint down the steep rocky slope and attack the Garthim. Card Front Card Back
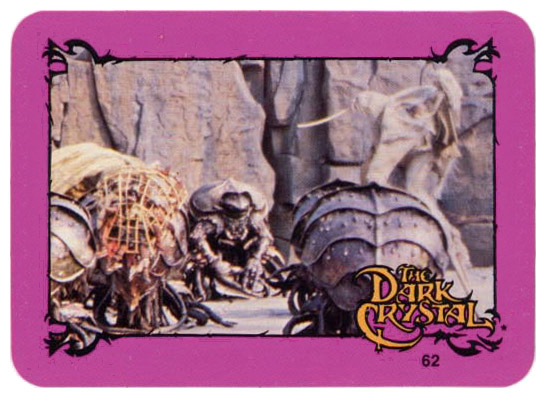
- #62 - Landstrider Defeat
- Destruction of the Garthim has become the Landstriders' fiercest joy. Their speed, their slashing blows, leave a Garthim crippled before it knows it has been attacked. But this time the outnumbered Landstriders cannot prevail against their hated enemy. Card Front Card Back
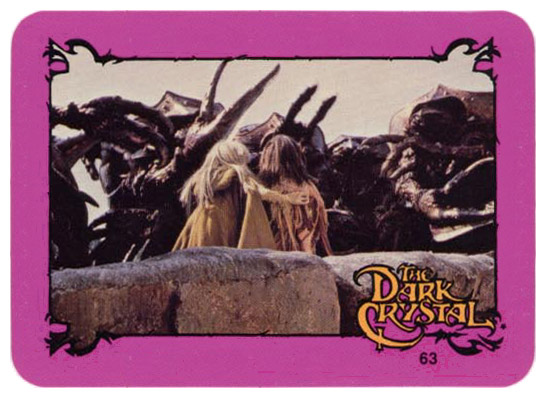
- #63 - No Exit
- The Garthim, having defeated their Landstrider attackers, pursue Jen and Kira to the edge of the ravine. The Gelflings have nowhere to run, nowhere to hide. Card Front Card Back
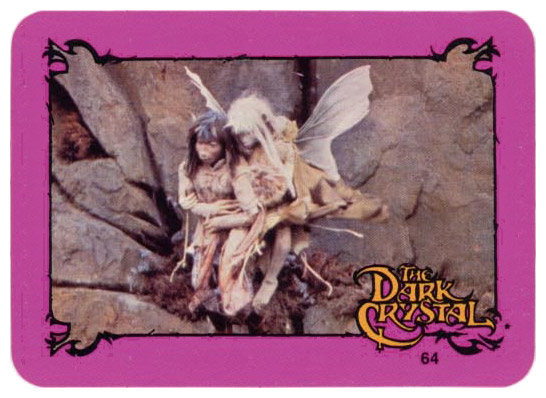
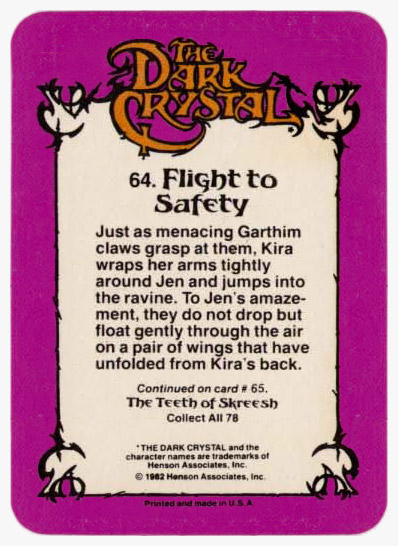
- #64 - Flight to Safety
- Just as menacing Garthim claws grasp at them, Kira wraps her arms tightly around Jen and jumps into the ravine. To Jen's amazement, they do not drop but float gently through the air on a pair of wings that have unfolded from Kira's back. Card Front Card Back
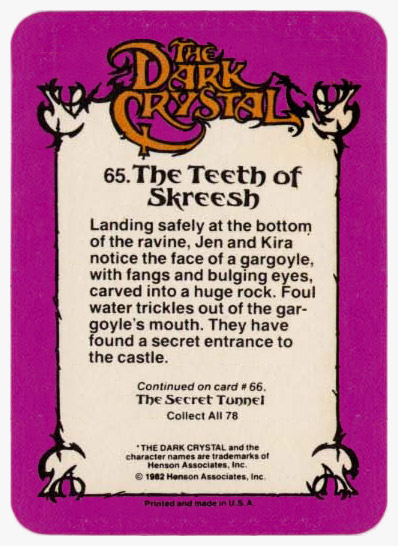
- #65 - The Teeth of Skreesh
- Landing safely at the bottom of the ravine, Jen and Kira notice the face of a gargoyle, with fangs and bulging eyes, carved into a huge rock. Foul water trickles out of the gargoyle's mouth. They have found a secret entrance to the castle. Card Front Card Back
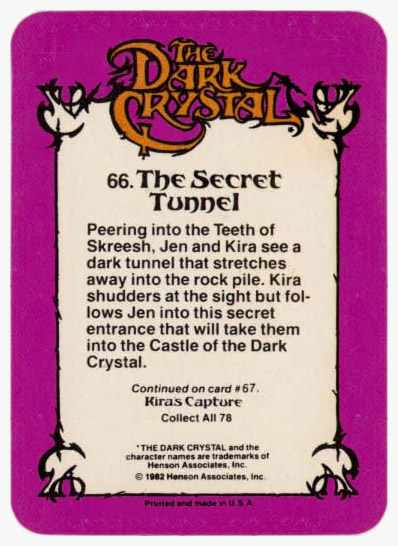
- #66 - The Secret Tunnel
- Peering into the Teeth of Skreesh, Jen and Kira see a dark tunnel that stretches away into the rock pile. Kira shudders at the sight but follows Jen into this secret entrance that will take them into the Castle of the Dark Crystal. Card Front Card Back
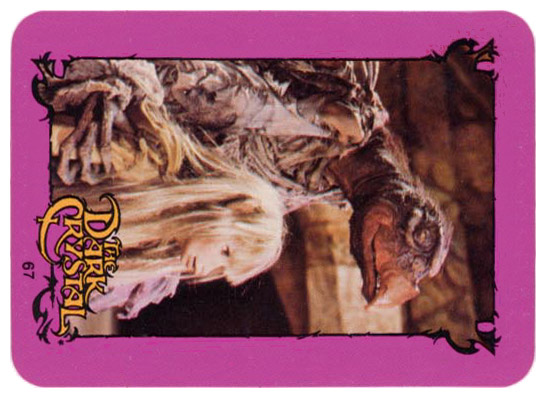
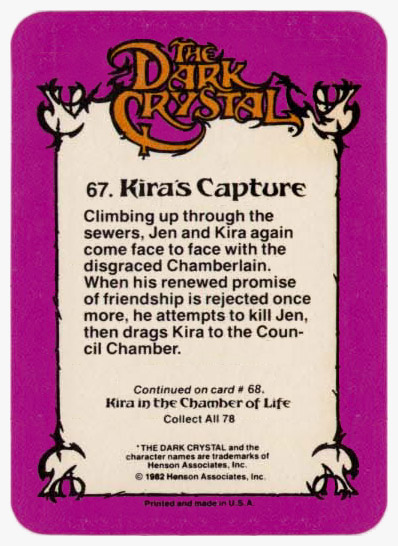
- #67 - Kira's Capture
- Climbing up through the sewers, Jen and Kira again come face to face with the disgraced Chamberlain. When his renewed promise of friendship is rejected once more, he attempts to kill Jen, then drags Kira to the Council Chamber. Card Front Card Back
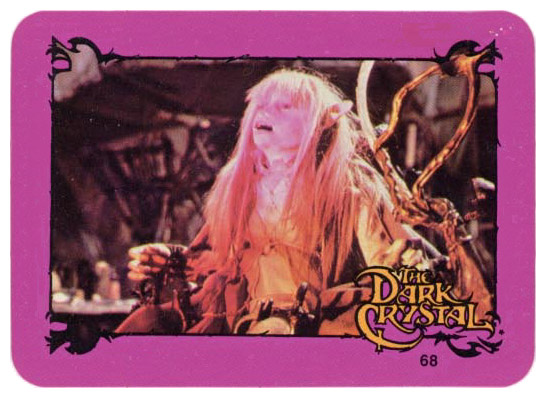
- #68 - Kira in the Chamber of Life
- The Garthim-Master orders Kira to be taken to the Chamber of Life, where she will be drained of her life-force. Imprisoned among hundreds of creatures of the forest and field, Kira incites them to break out of their cages to freedom. Card Front Card Back
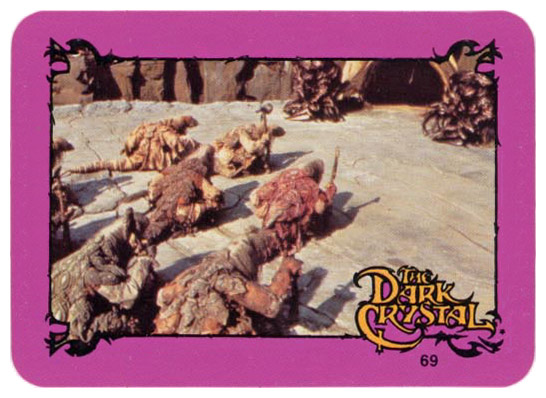
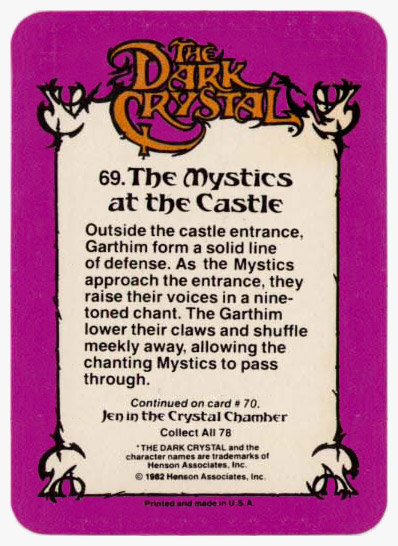
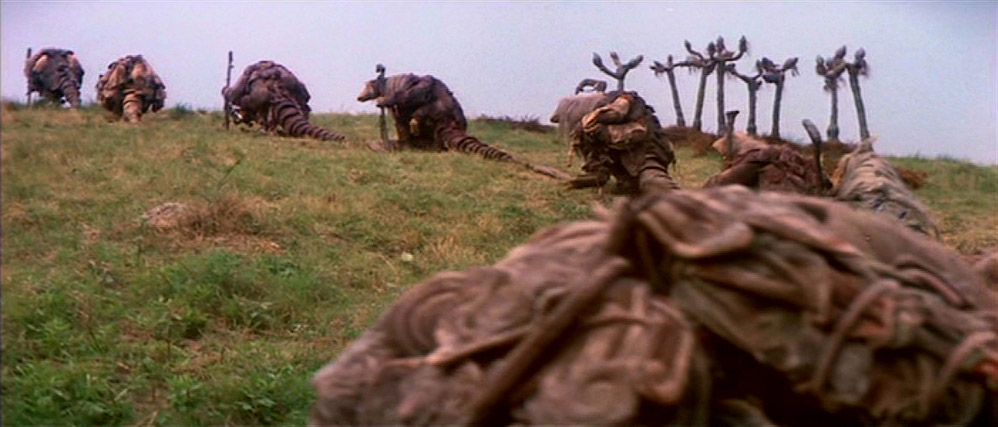
- #69 - The Mystics at the Castle
- Outside the castle entrance, Garthim form a solid line of defense. As the Mystics approach the entrance, they raise their voices in a nine-toned chant. The Garthim lower their claws and shuffle meekly away, allowing the chanting Mystics to pass through. Card Front Card Back
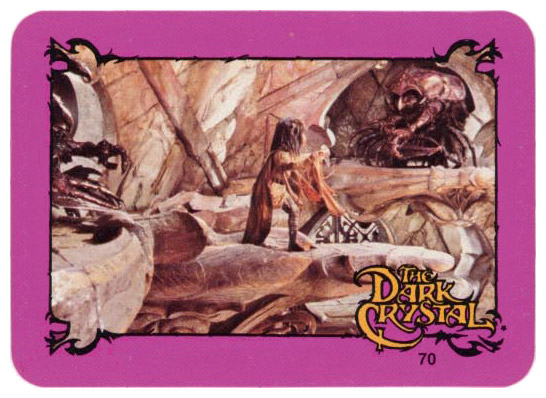
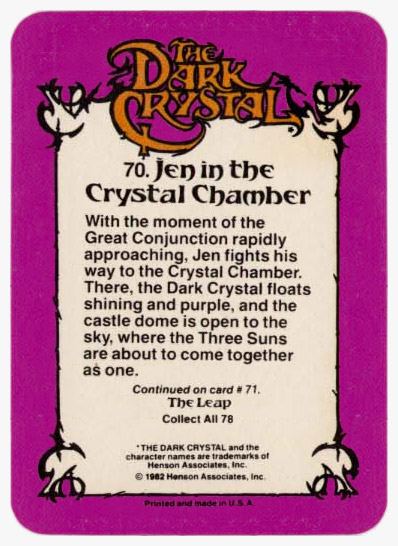
- #70 - Jen in the Crystal Chamber
- With the moment of the Great Conjunction rapidly approaching, Jen fights his way to the Crystal Chamber. There, the Dark Crystal floats shining and purple, and the castle dome is open to the sky, where the Three Suns are about to come together as one. Card Front Card Back
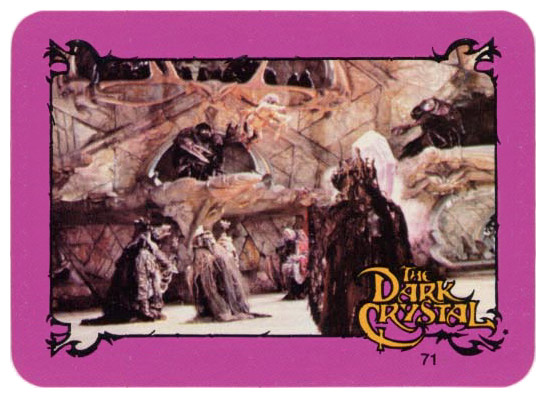
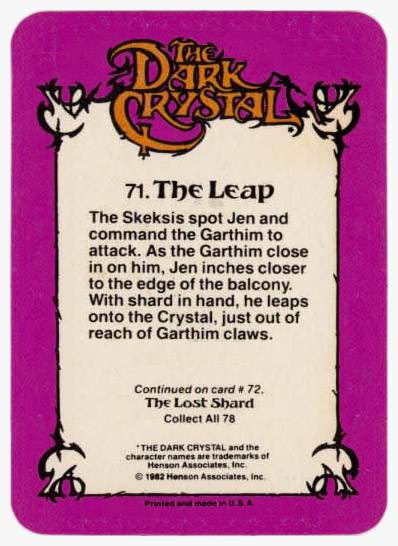
- #71 - The Leap
- The Skeksis spot Jen and command the Garthim to attack. As the Garthim close in on him, Jen inches closer to the edge of the balcony. With shard in hand, he leaps onto the Crystal, just out of reach of Garthim claws. Card Front Card Back

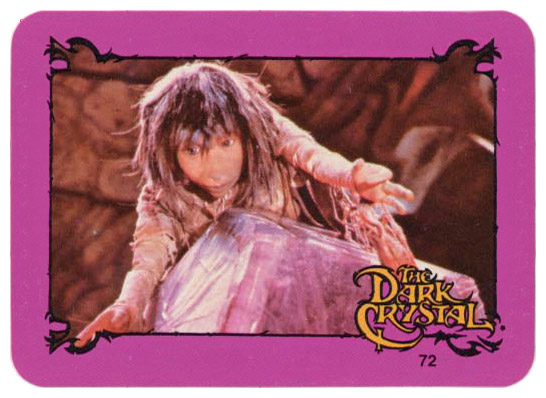
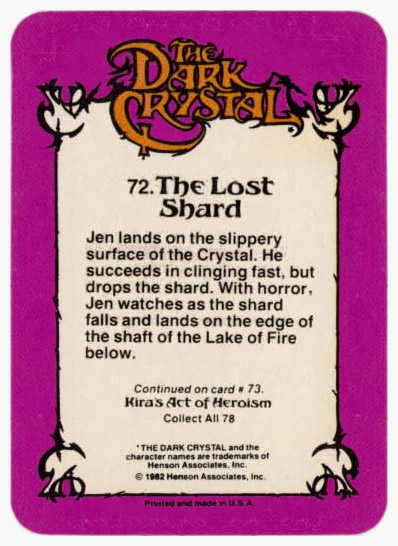
- #72 - The Lost Shard
- Jen lands on the slippery surface of the Crystal. He succeeds in clinging fast, but drops the shard. With horror, Jen watches as the shard falls and lands on the edge of the shaft of the Lake of Fire below. Card Front Card Back
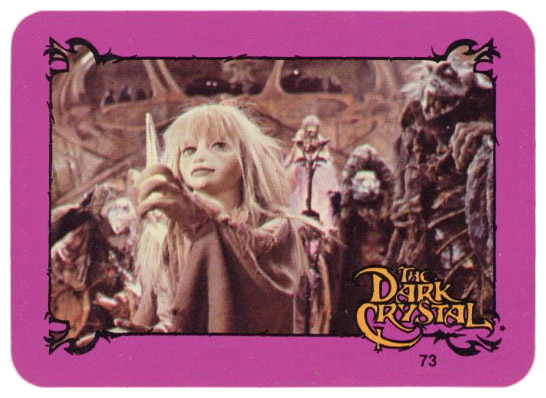
- #73 - Kira's Act of Heroism
- After the shard lands, the Skeksis, realizing how close the prophecy has come to fulfillment, rush toward it. But Kira, who has flown from the balcony, reaches it first. She turns toward Jen and crying, "Heal the Crystal, Jen!" throws the shard back up to him. Card Front Card Back
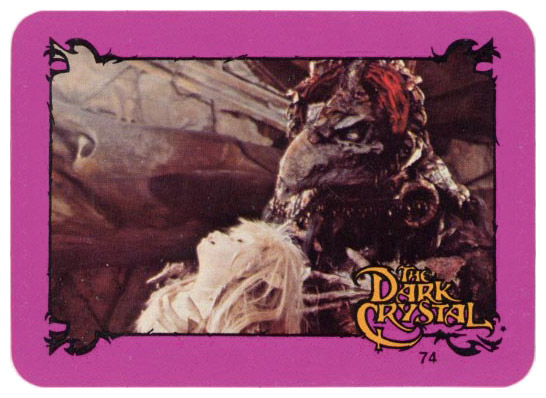
- #74 - Kira's Sacrifice
- Reaching out, Jen catches the shard Kira has thrown up to him. As he does so, he looks down, horrified, as the Ritual-Master stabs his sacrificial knife through Kira's back. Card Front Card Back

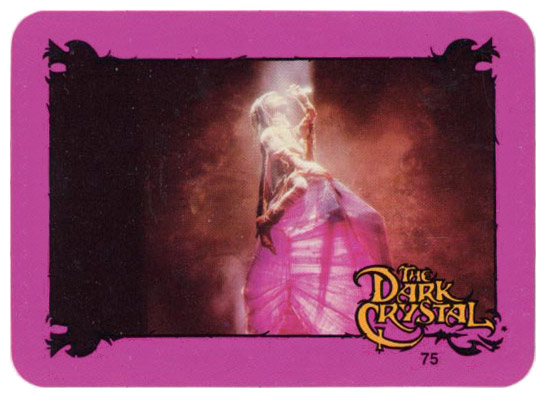
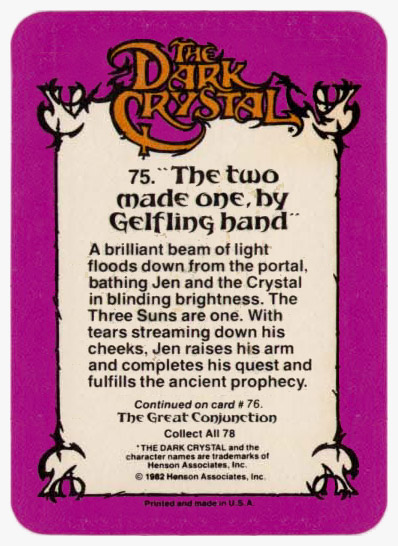
- #75 - "The two made one, by Gelfling hand"
- A brilliant beam of light floods down from the portal, bathing Jen and the Crystal in blinding brightness. The Three Suns are one. With tears streaming down his cheeks, Jen raises his arm and completes his quest and fulfills the ancient prophecy. Card Front Card Back
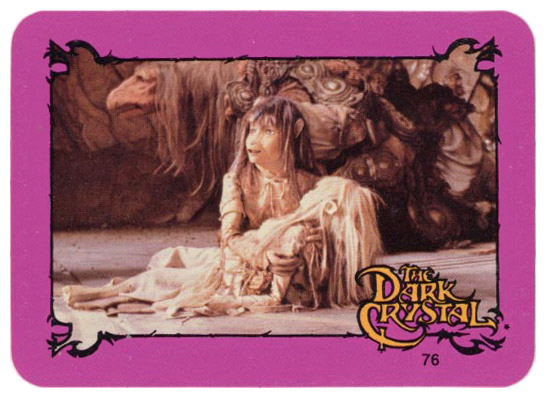
- #76 - The Great Conjunction
- The Crystal flashes, and a high-pitched boom of thunder sounds. Jen is thrown from the Crystal and falls through the dazzled air. He lands unharmed and runs over to Kira's lifeless body. Cradling her in his arms, he sobs with grief. Card Front Card Back
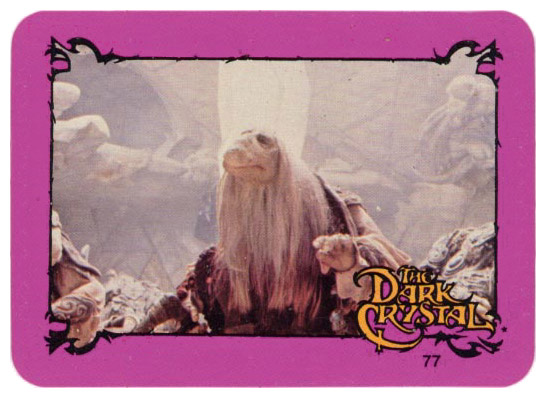
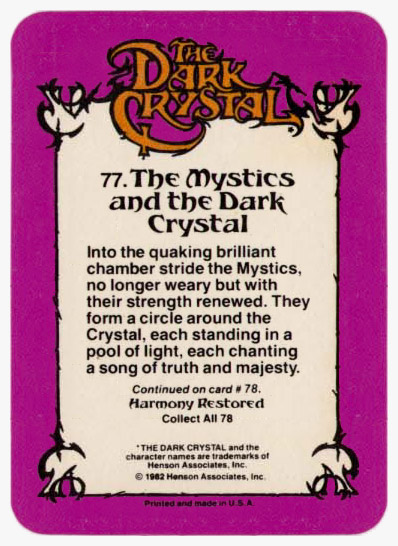
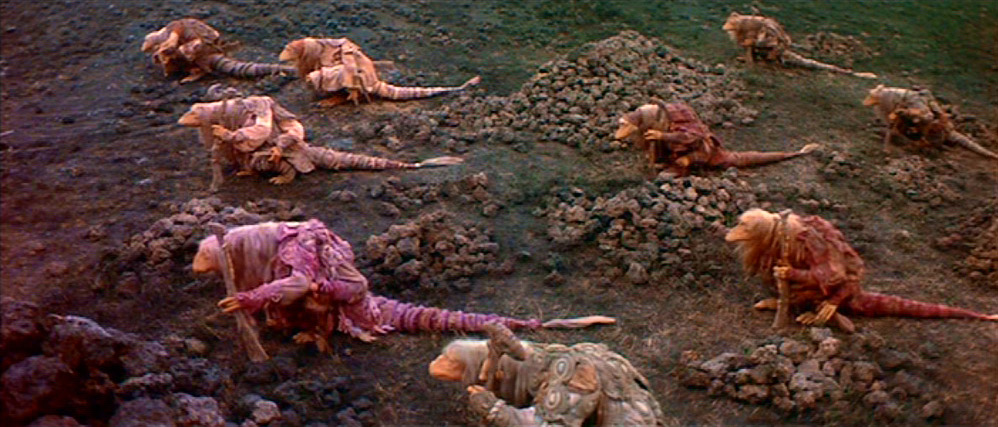
- #77 - The Mystics and the Dark Crystal
- Into the quaking brilliant chamber stride the Mystics, no longer weary but with their strength renewed. They form a circle around the Crystal, each standing in a pool of light, each chanting a song of truth and majesty. Card Front Card Back
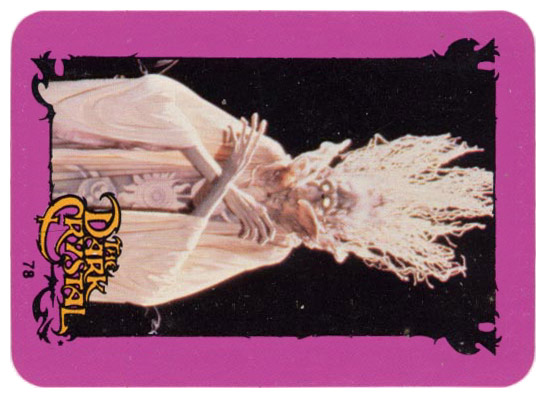
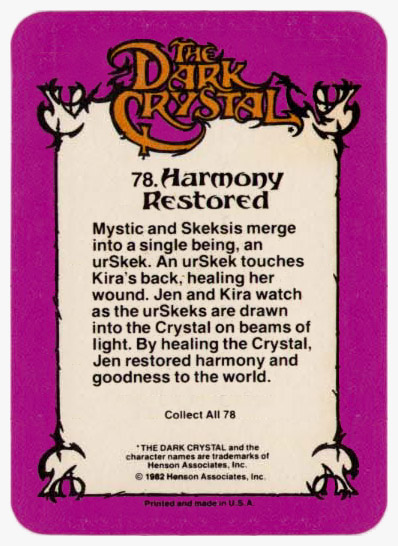
- #78 - Harmony Restored
- Mystic and Skeksis merge into a single being, an urSkek. An urSkek touches Kira's back, healing her wound. Jen and Kira watch as the urSkeks are drawn into the Crystal on beams of light. By healing the Crystal, Jen restored harmony and goodness to the world. Card Front Card Back


